Cloud Scaffolding: The Mighty Pi 🍇
Prerequisites
Before we begin, make sure you have the following:
- A laptop or workstation
- 1 - Raspberry Pi 5 (I recommend the 8G version)
- 1 - Micro SD card (at least 128GB)
- 1 - Micro SW card reader/writer
- 1 - 27W USB-C power supply
- 1 - 40mm fan
- 1 - RPi5 case
- 1 - Active Head Sink
- An internet connection (hopefully a reasonable speed)
- Admin login access to your router
Raspberry Pi 5 Assembly
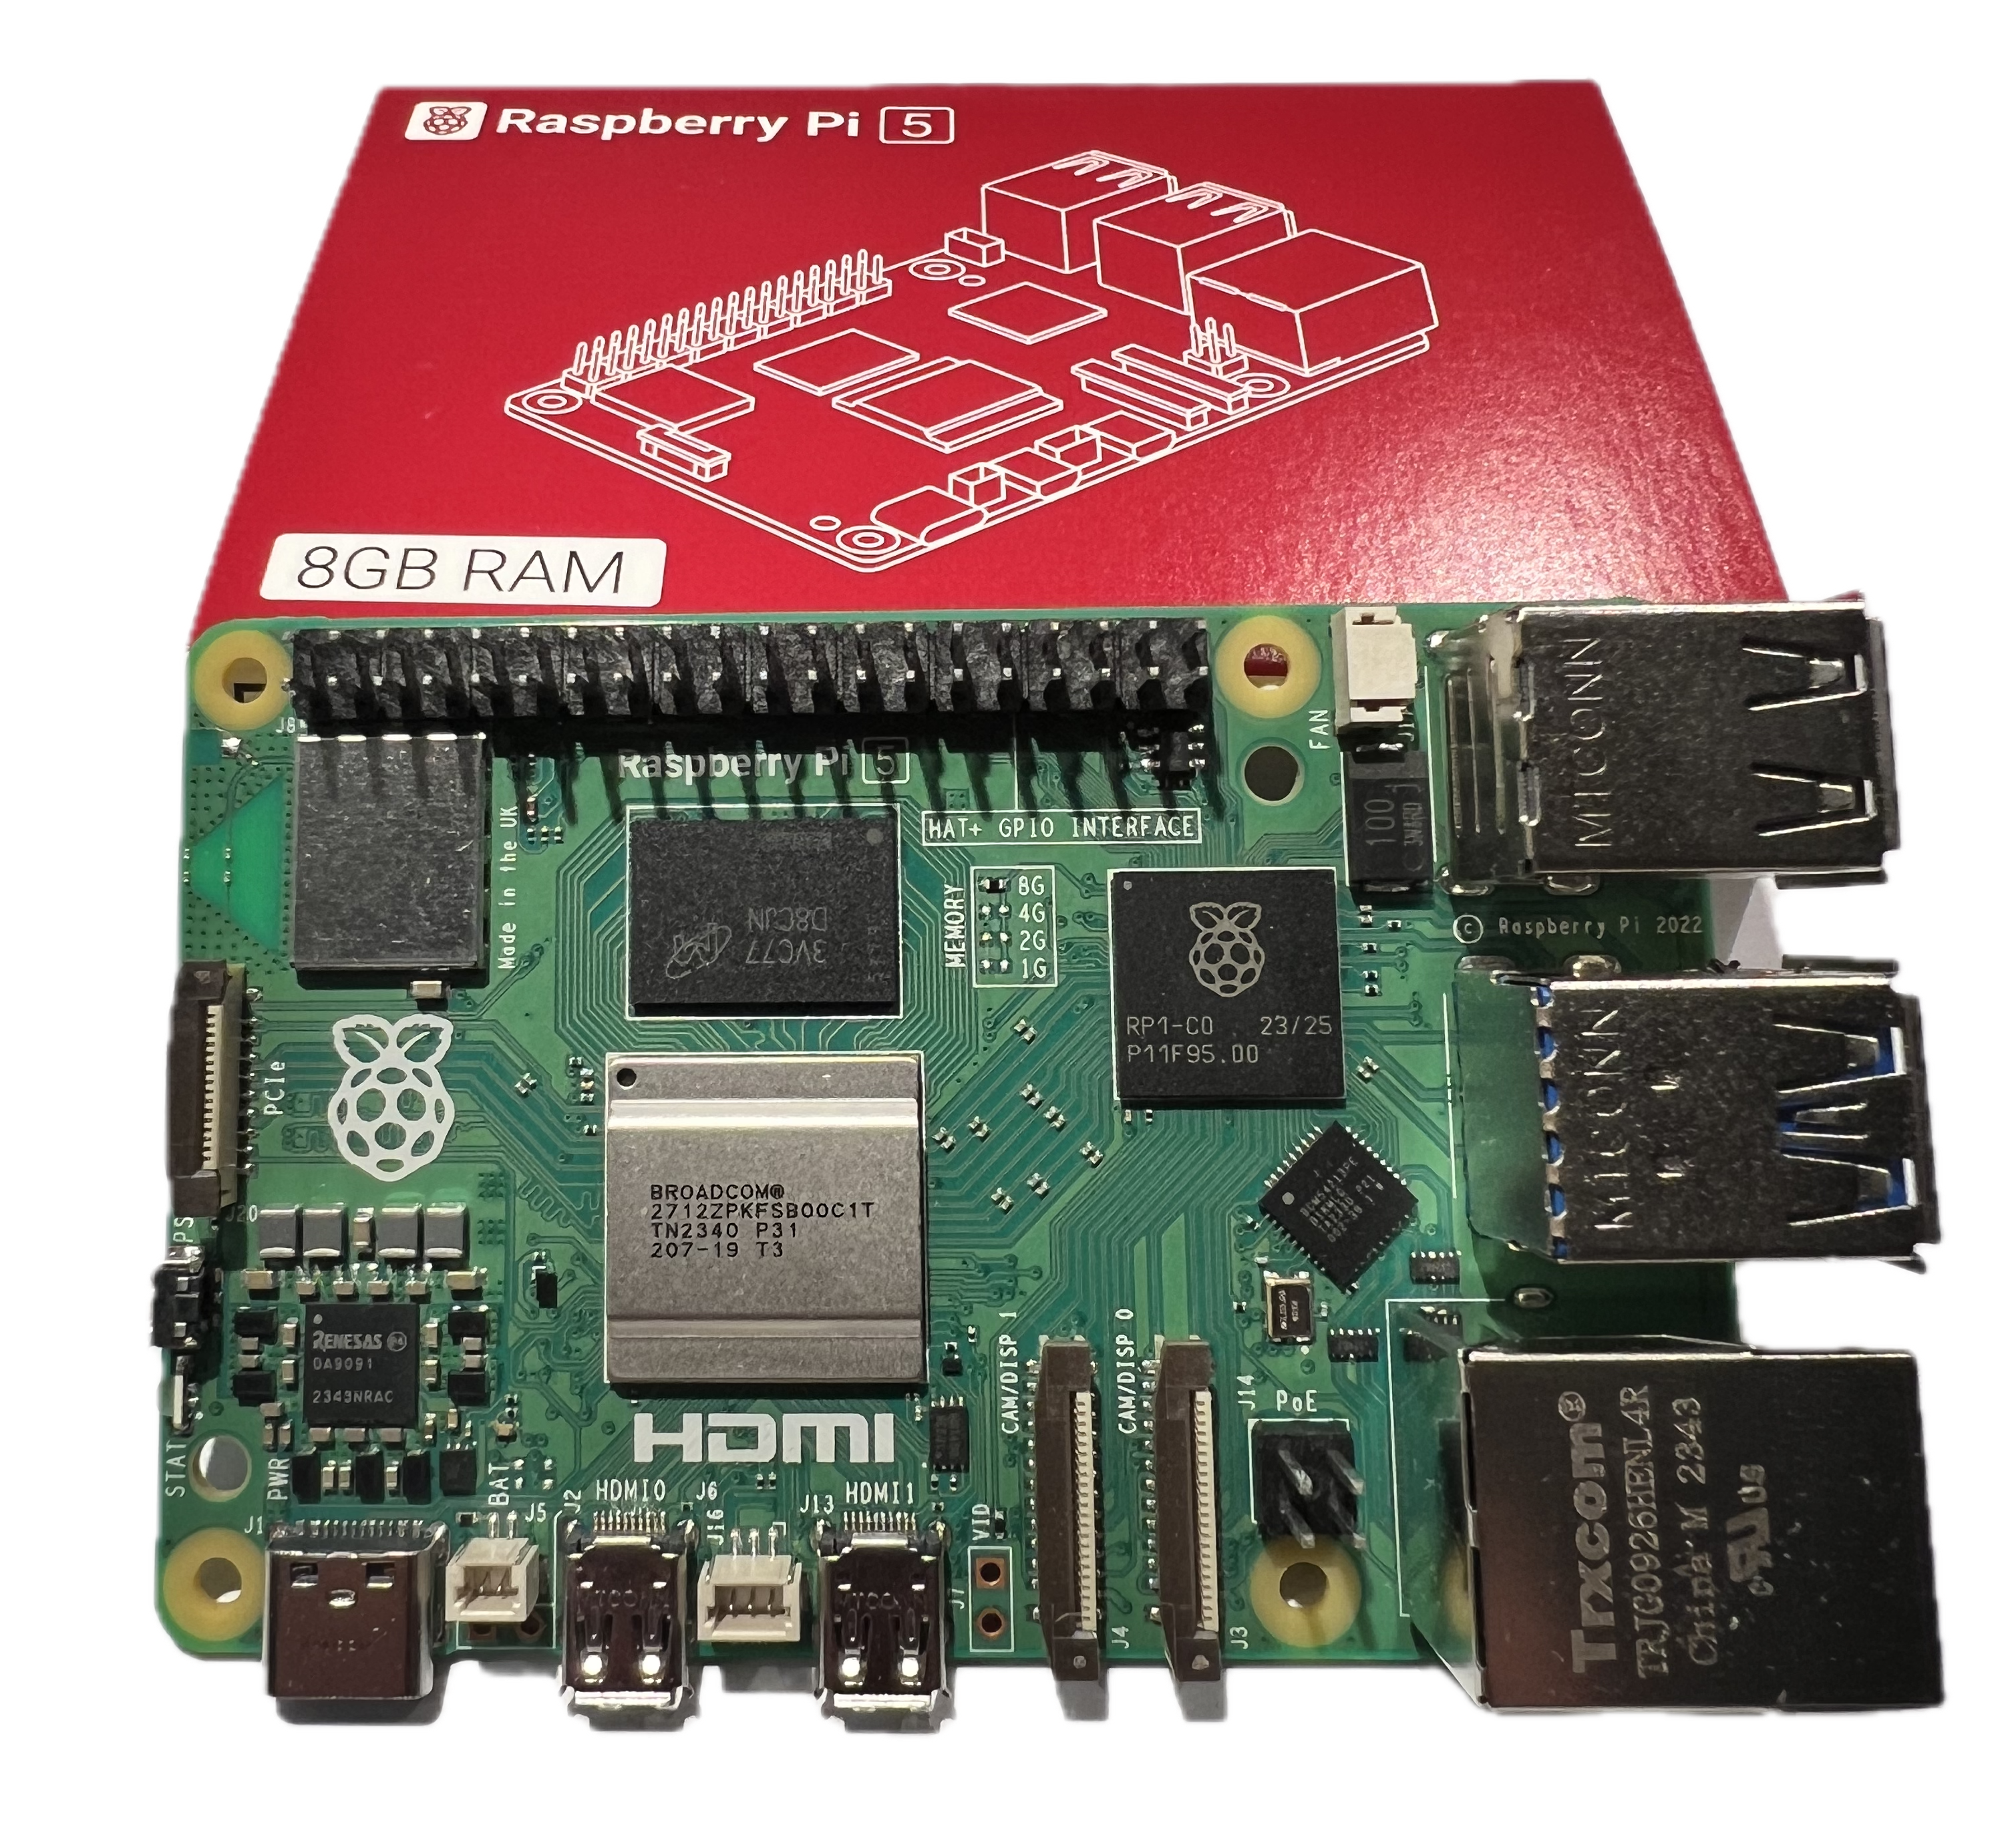
1. Unbox the Raspberry Pi 5
This is the exciting part. Unbox the Raspberry Pi 5 and take a moment to appreciate the beauty of this tiny computer.
2. Attach the heat sink to the board
This is an important step. The new RPi5 can get very hot. It’s important to keep it cool.
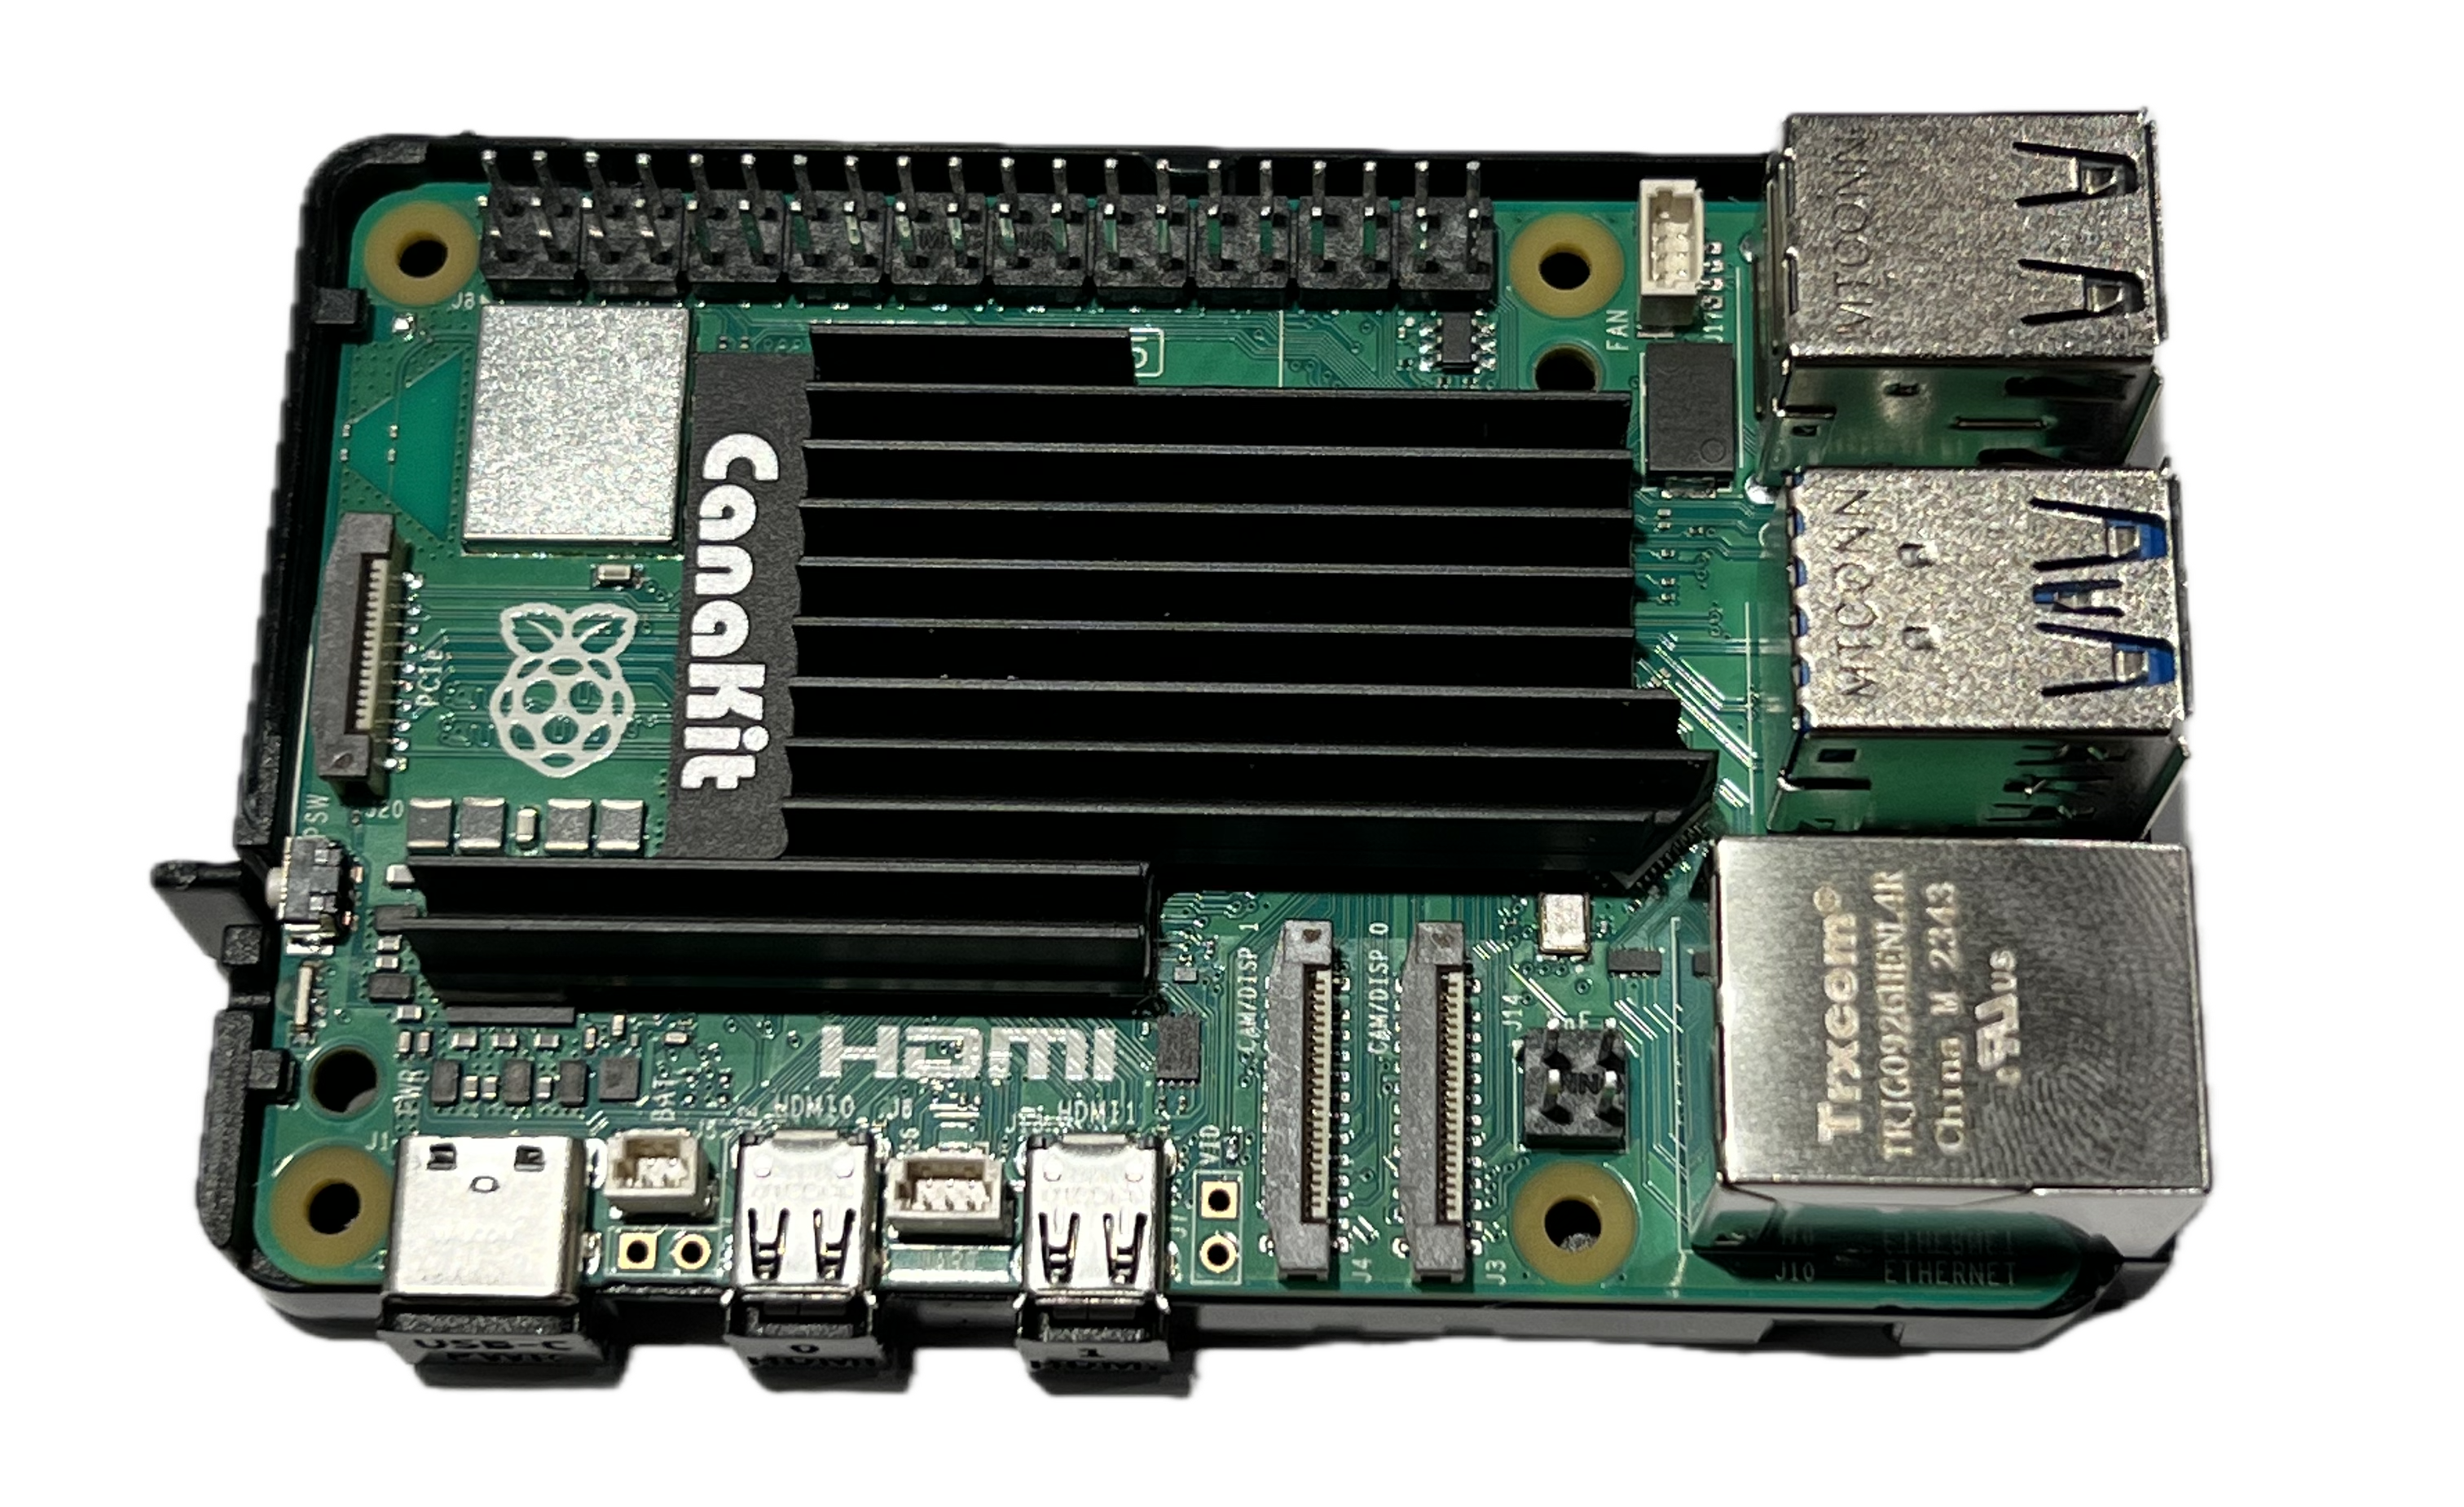
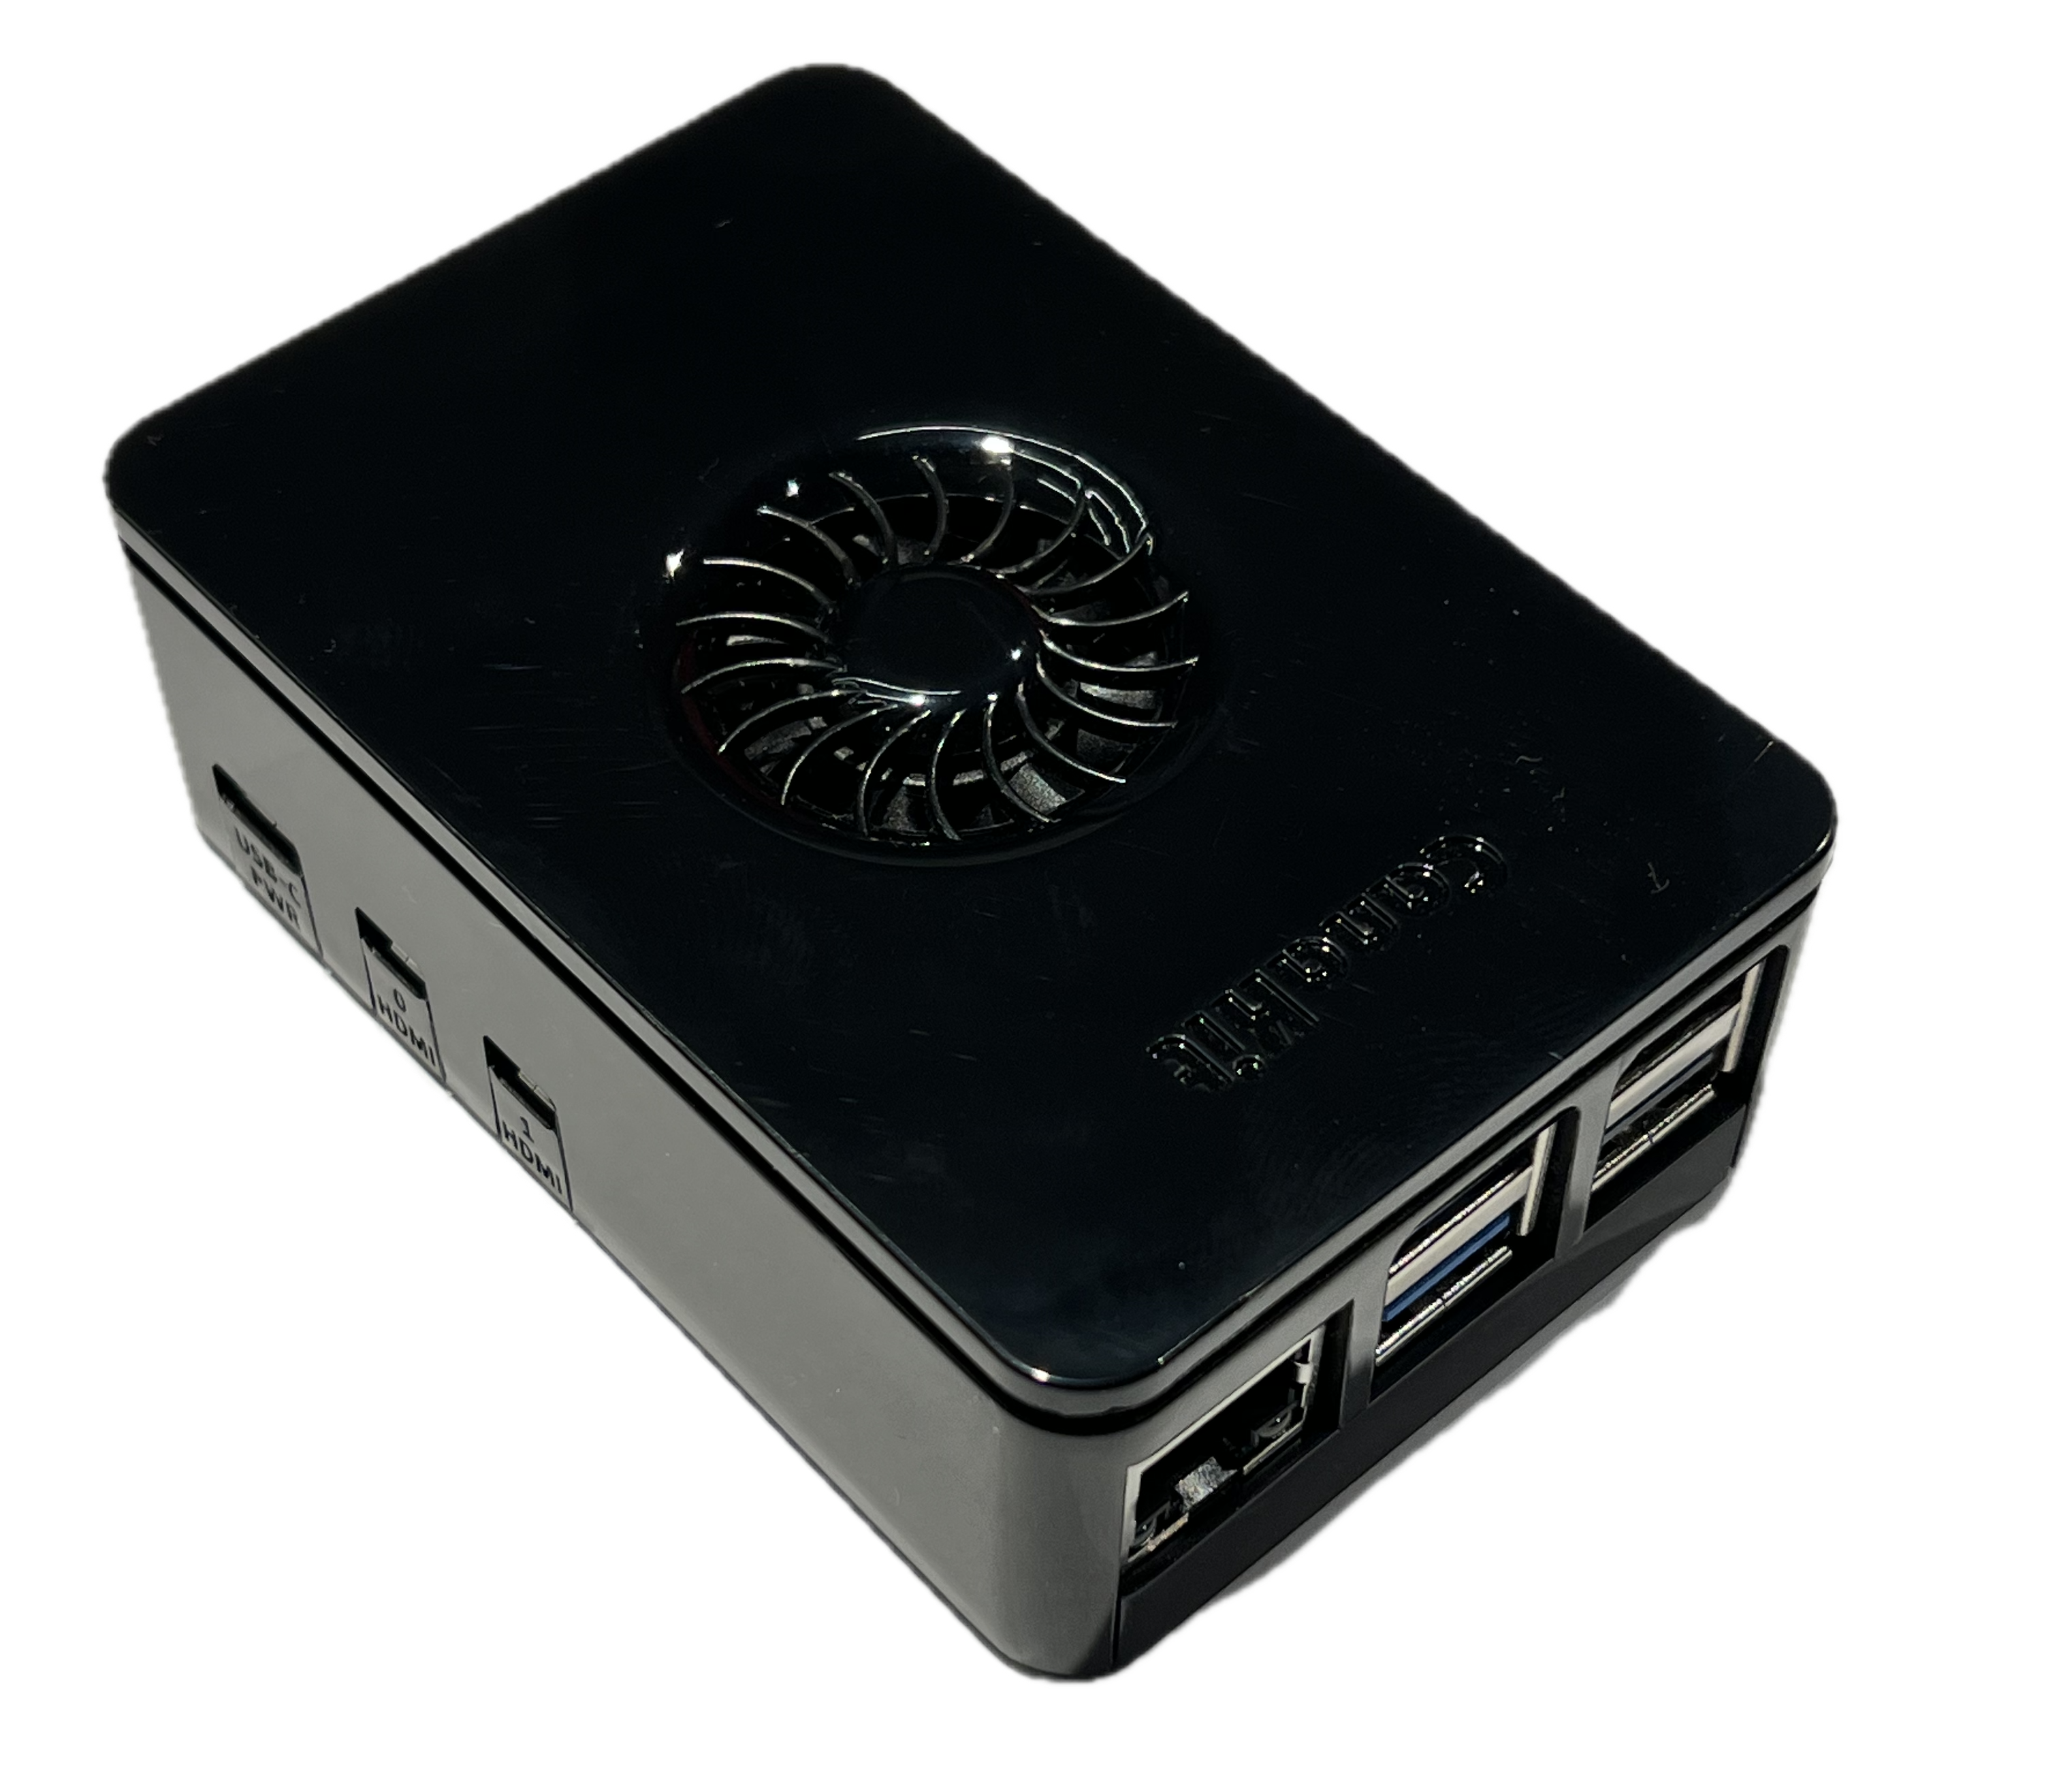
3. Attach fan and place the board in the case!
4. Download an install the Raspberry PI OS Installer
The installer is available on the Raspberry Pi website. Download the installer and install it onto your laptop or work station.
Flashing Raspberry Pi OS
1. Open the Raspberry Pi OS Installer
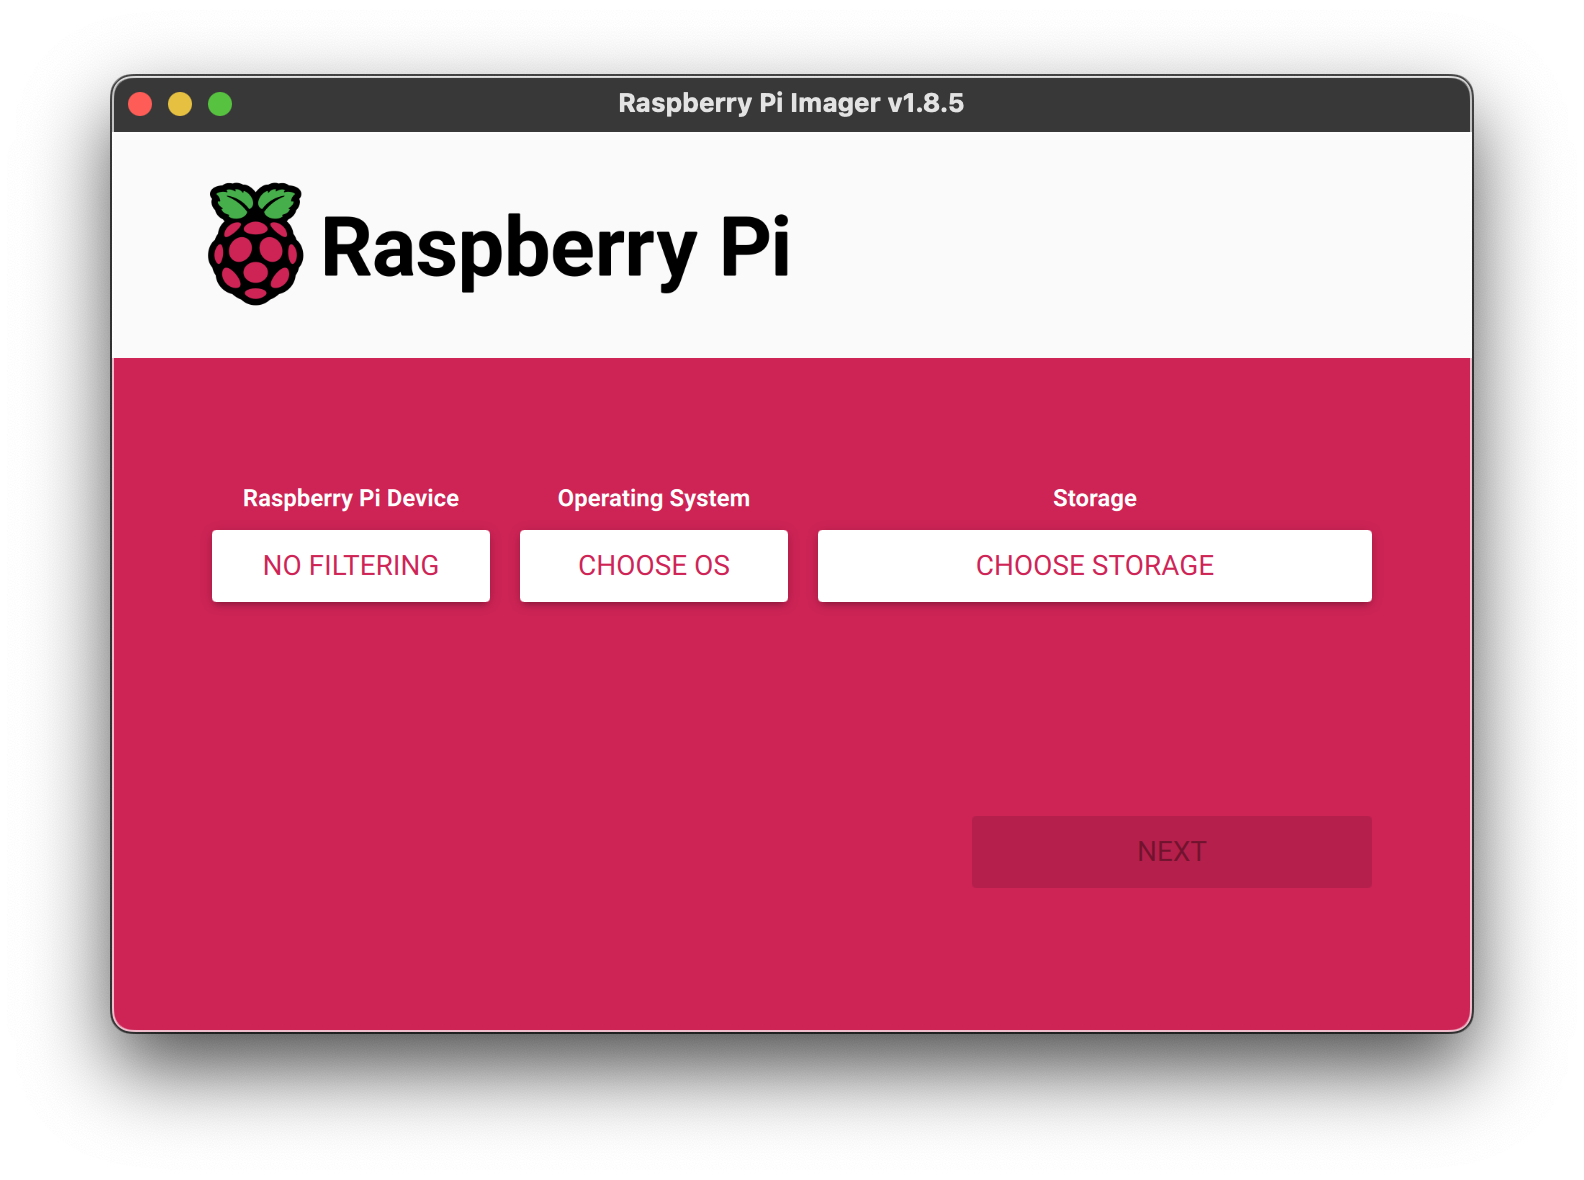
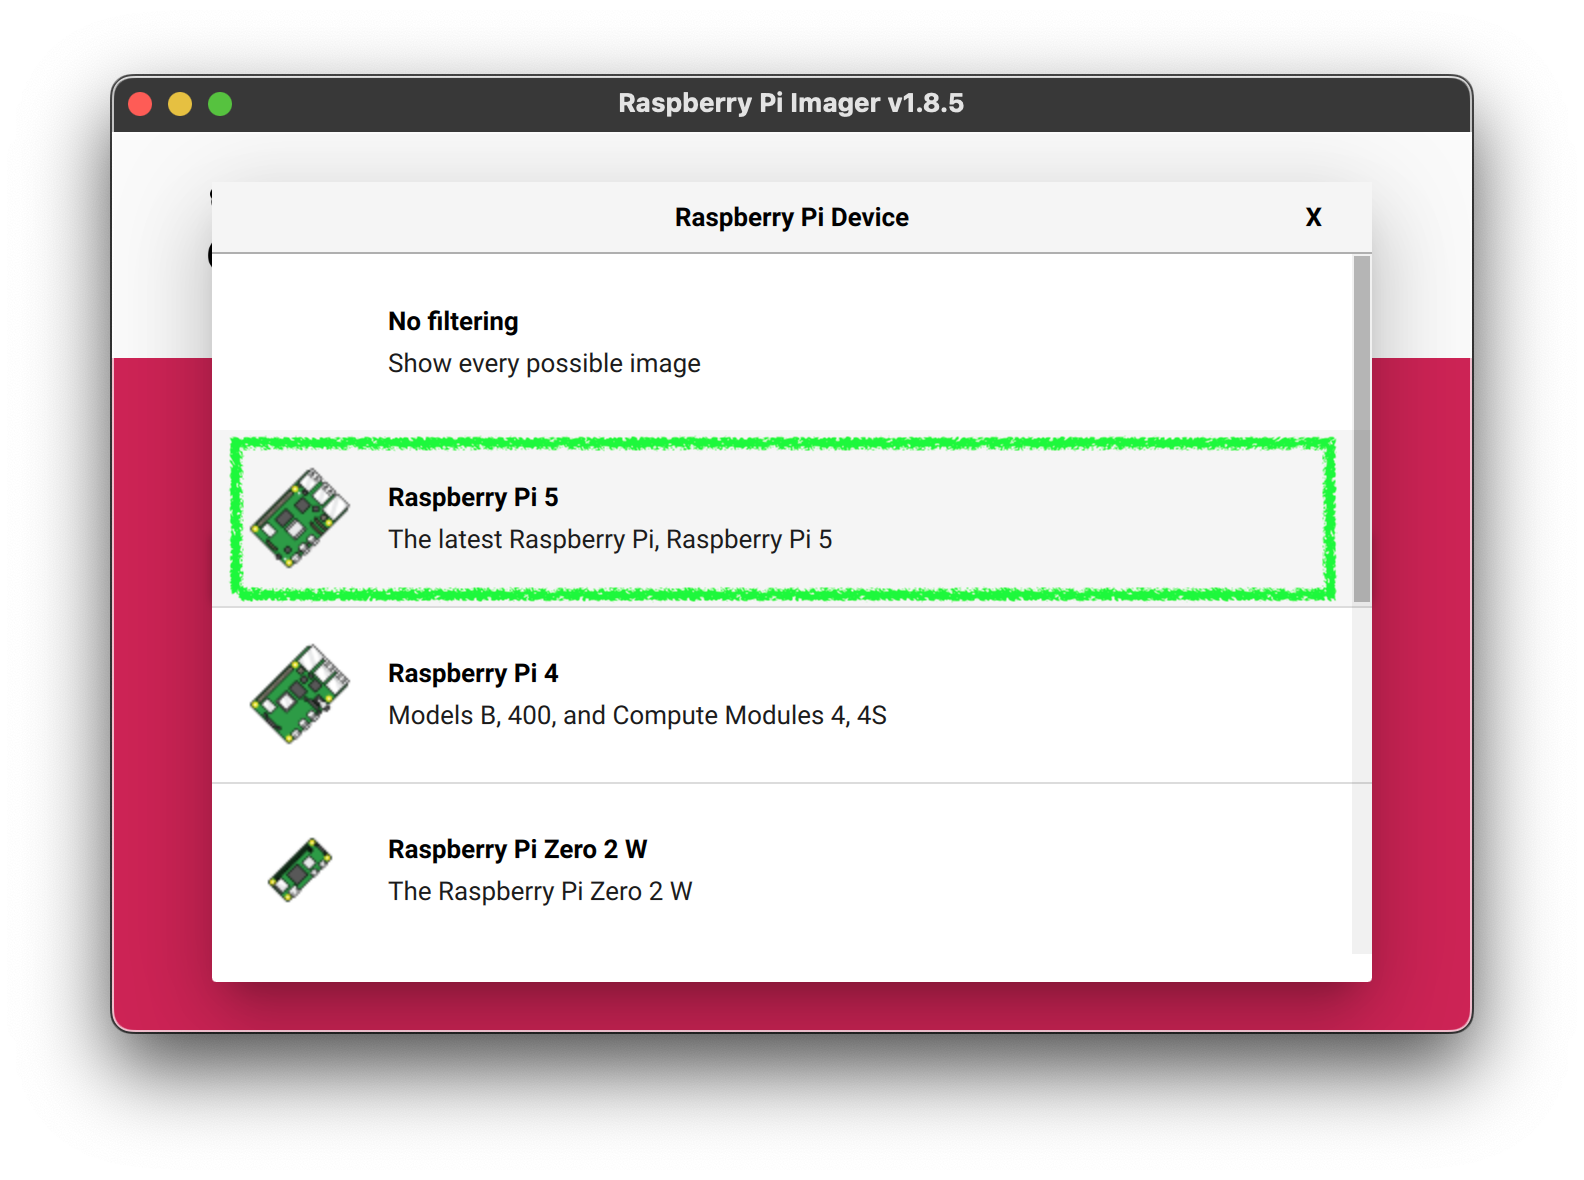
2. Select the Raspberry Pi Device
This is an important step. The new RPi5 can get very hot. It’s important to keep it cool.
3. Select the Operating System
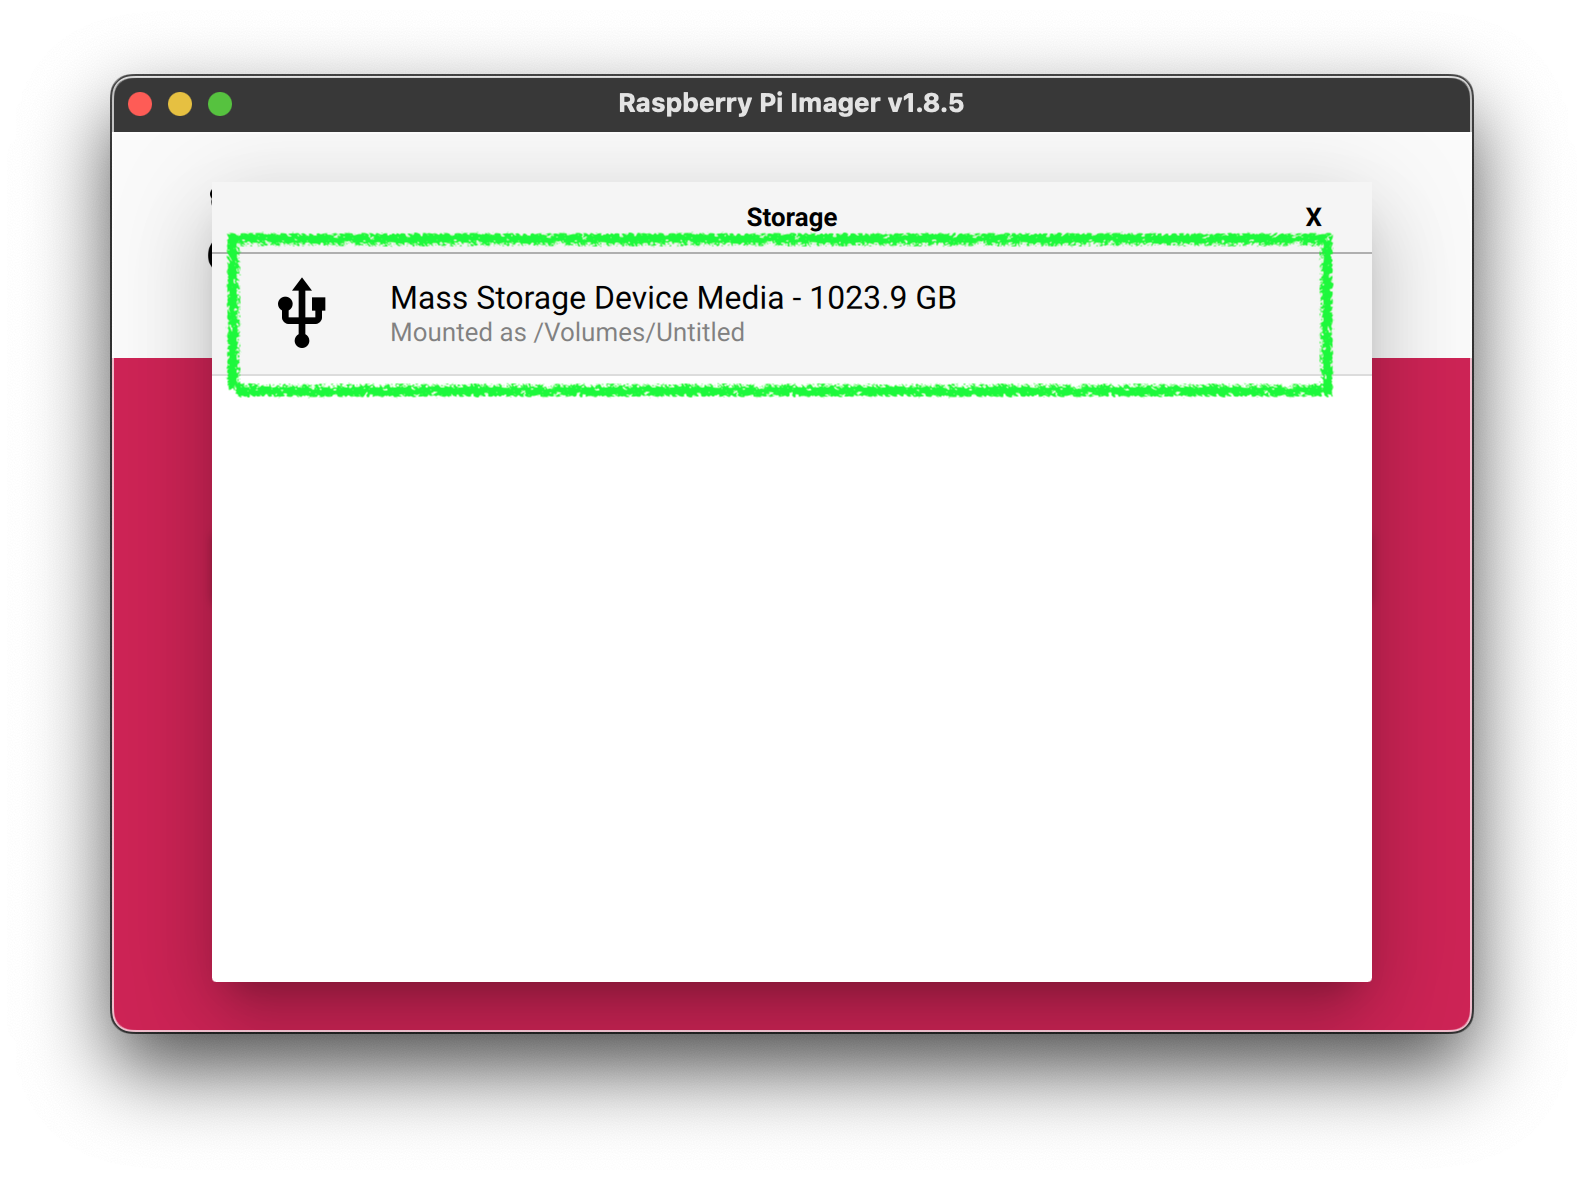
**For Raspberry Pi 4 or 5 I recommend the current Ubuntu 23.04 LTS.** This will allow us to deploy Canonical's MicroK8s which is much simpler to use than a Kubeadm installed Kubernetes.4. Select the Storage Media
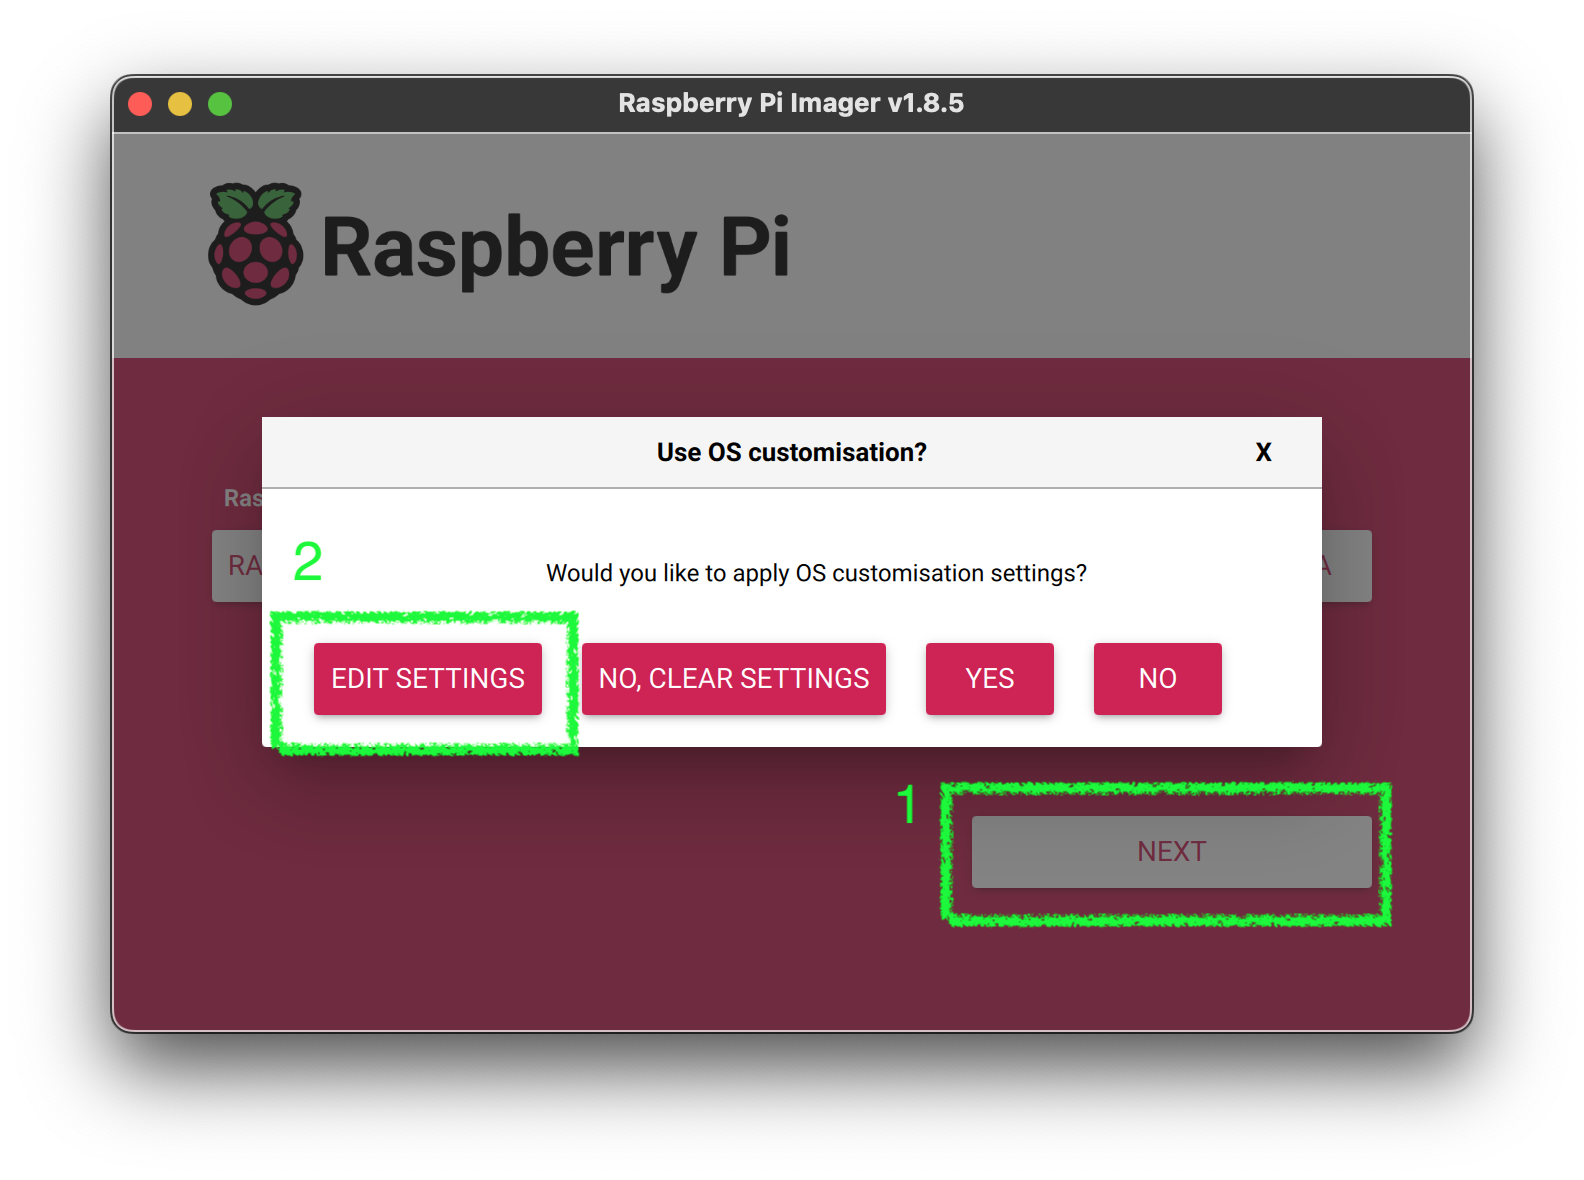
4. Click Next, then `Edit Settings`
5. Configure the default values for first Boot
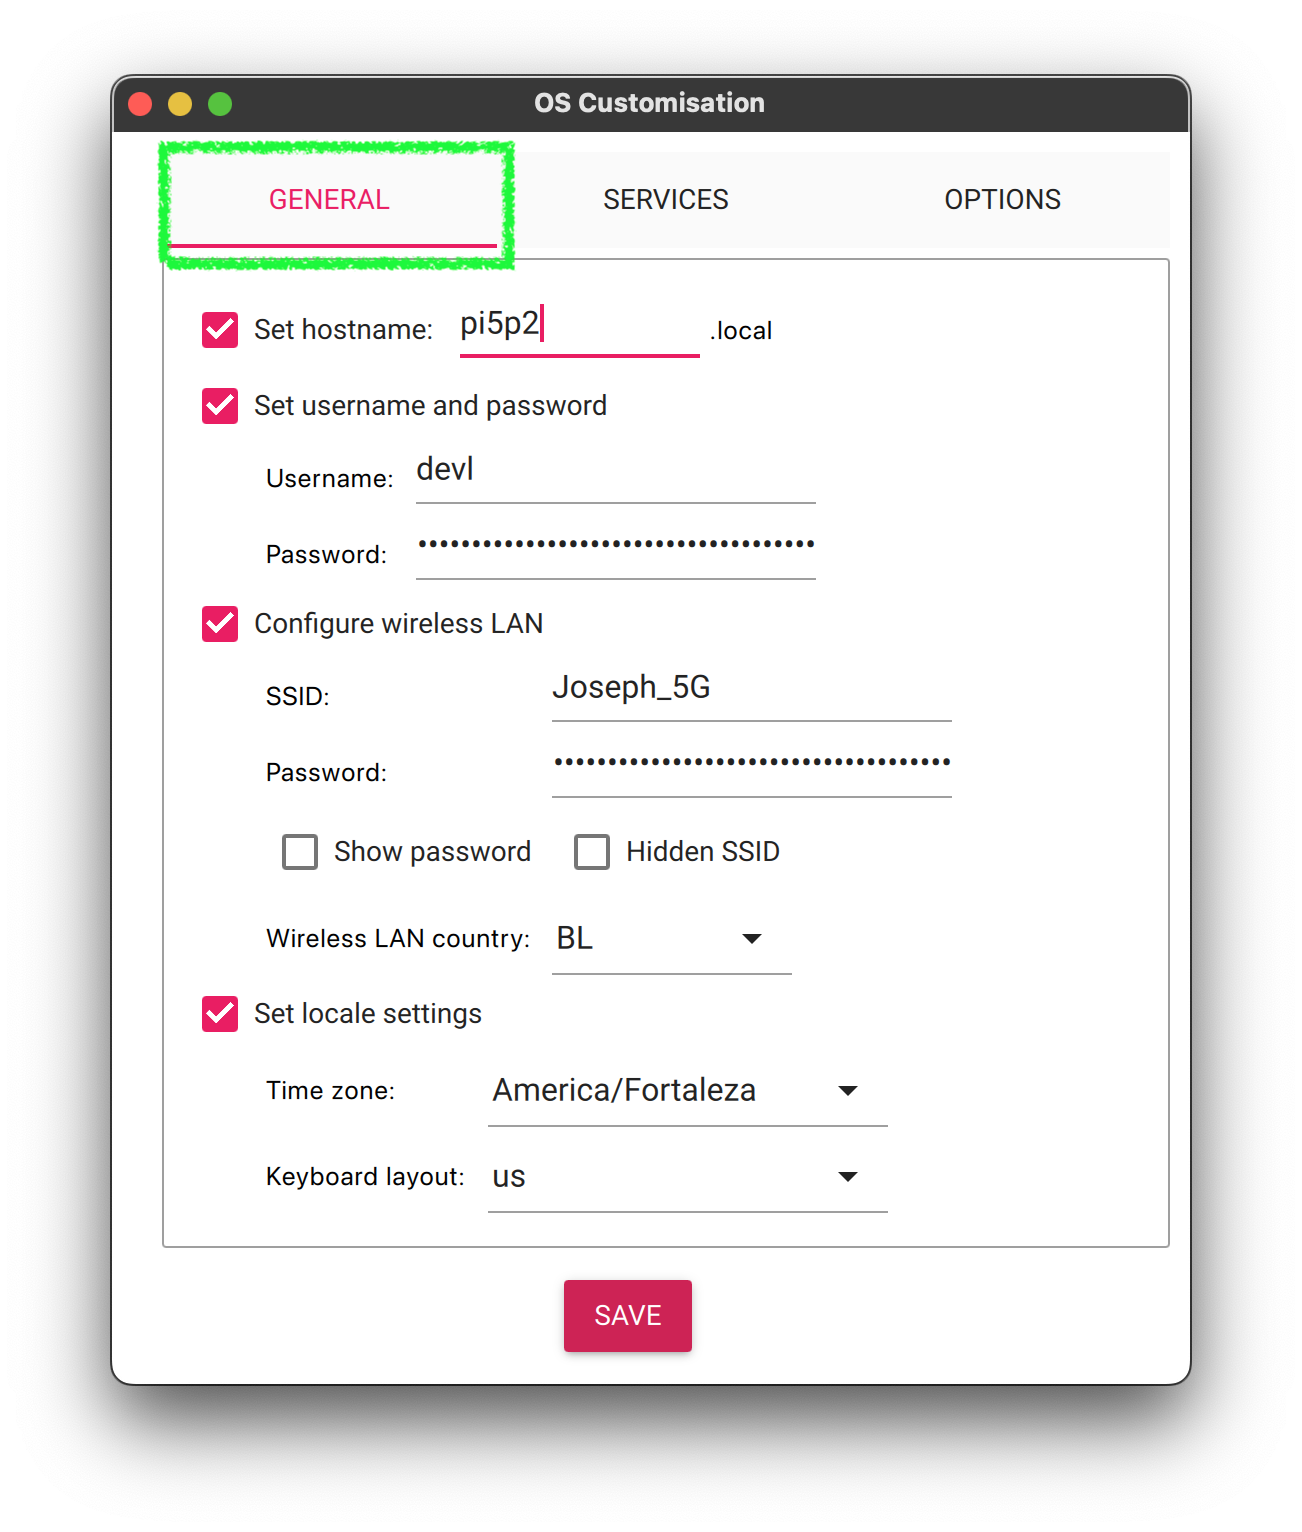
- Make sure you set the hostname
- Make sure to configure the
userwith astrongpassword - Configure the
WiFisettings to your local network. This allows you to find and access the RPi5 on your network without needing to connect a monitor and keyboard. - Set the locale settings to your local settings
Don’t click save yet. We need to configure the
SSHsettings.
5. Customize Services (SSH)
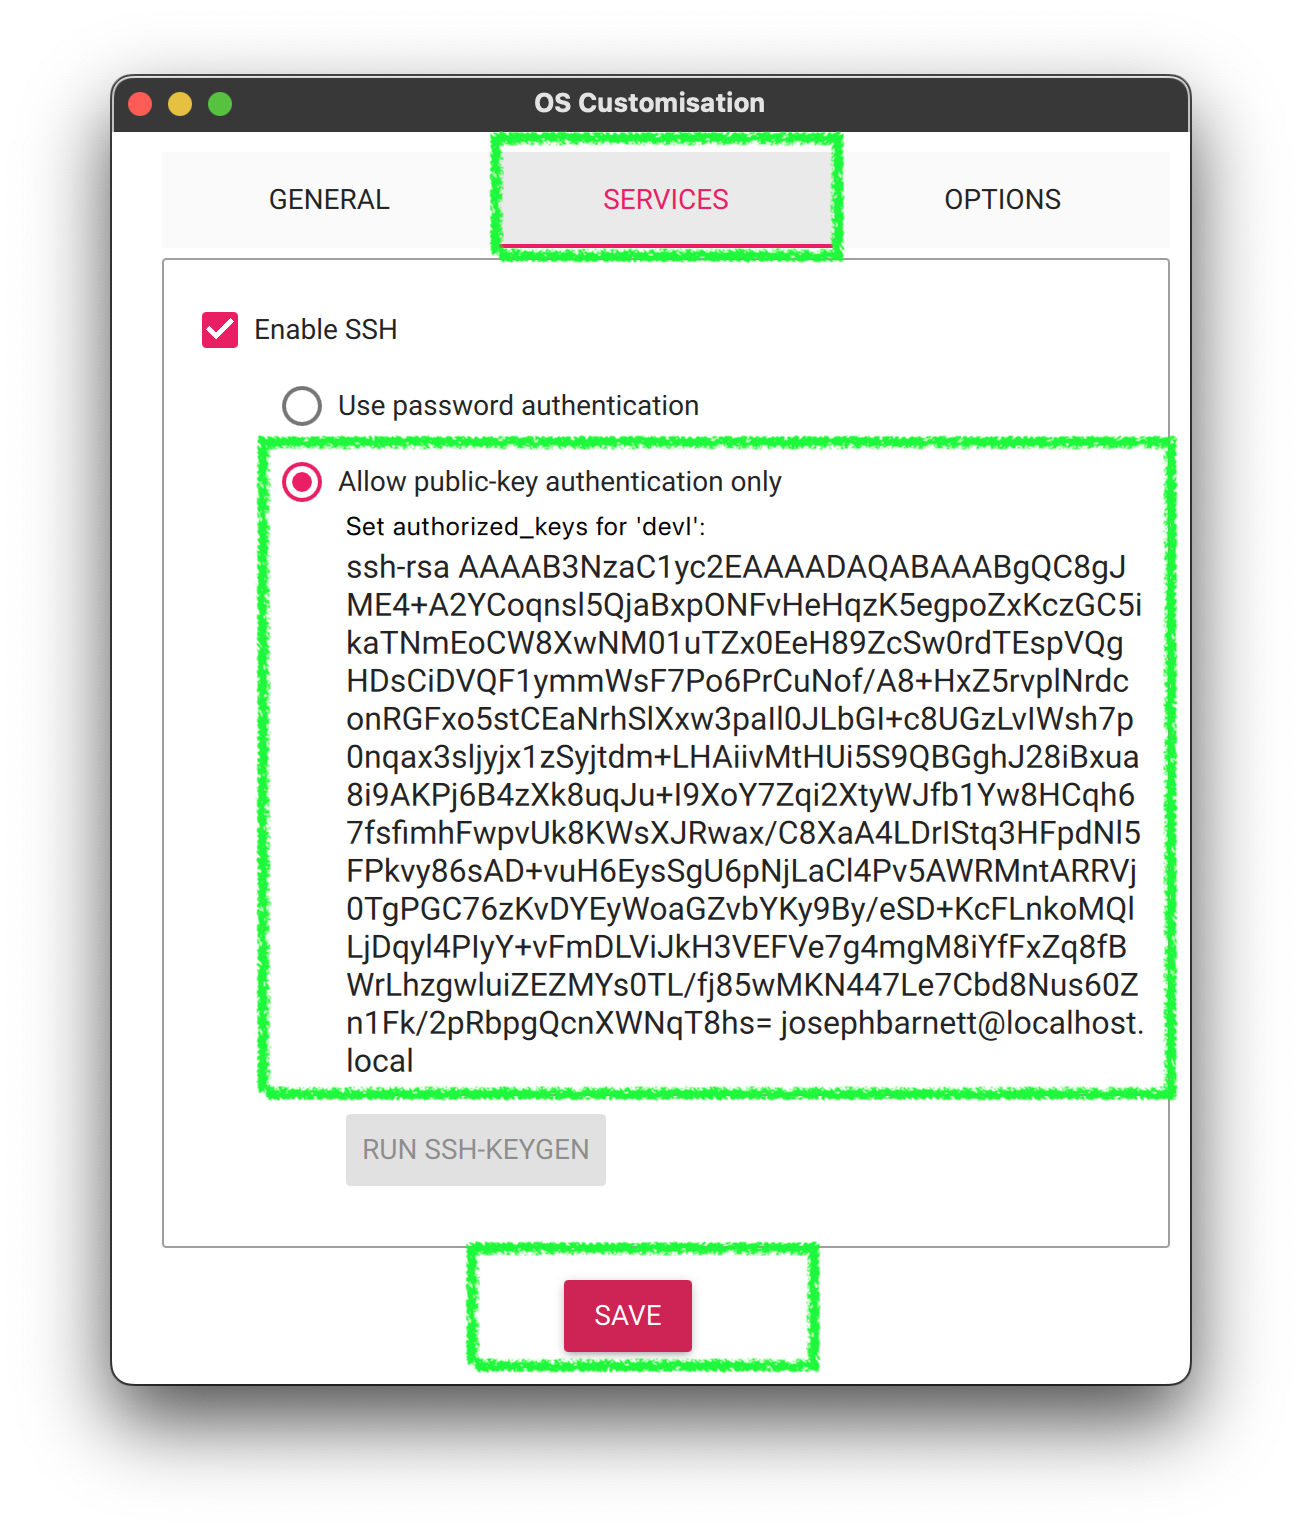
- Select
Enable SSH - Add your public key. If you don’t have an SSH Key, you can generate one using the
ssh-keygencommand. Follow the github instructions. I think they are the clearest. - Click
Save
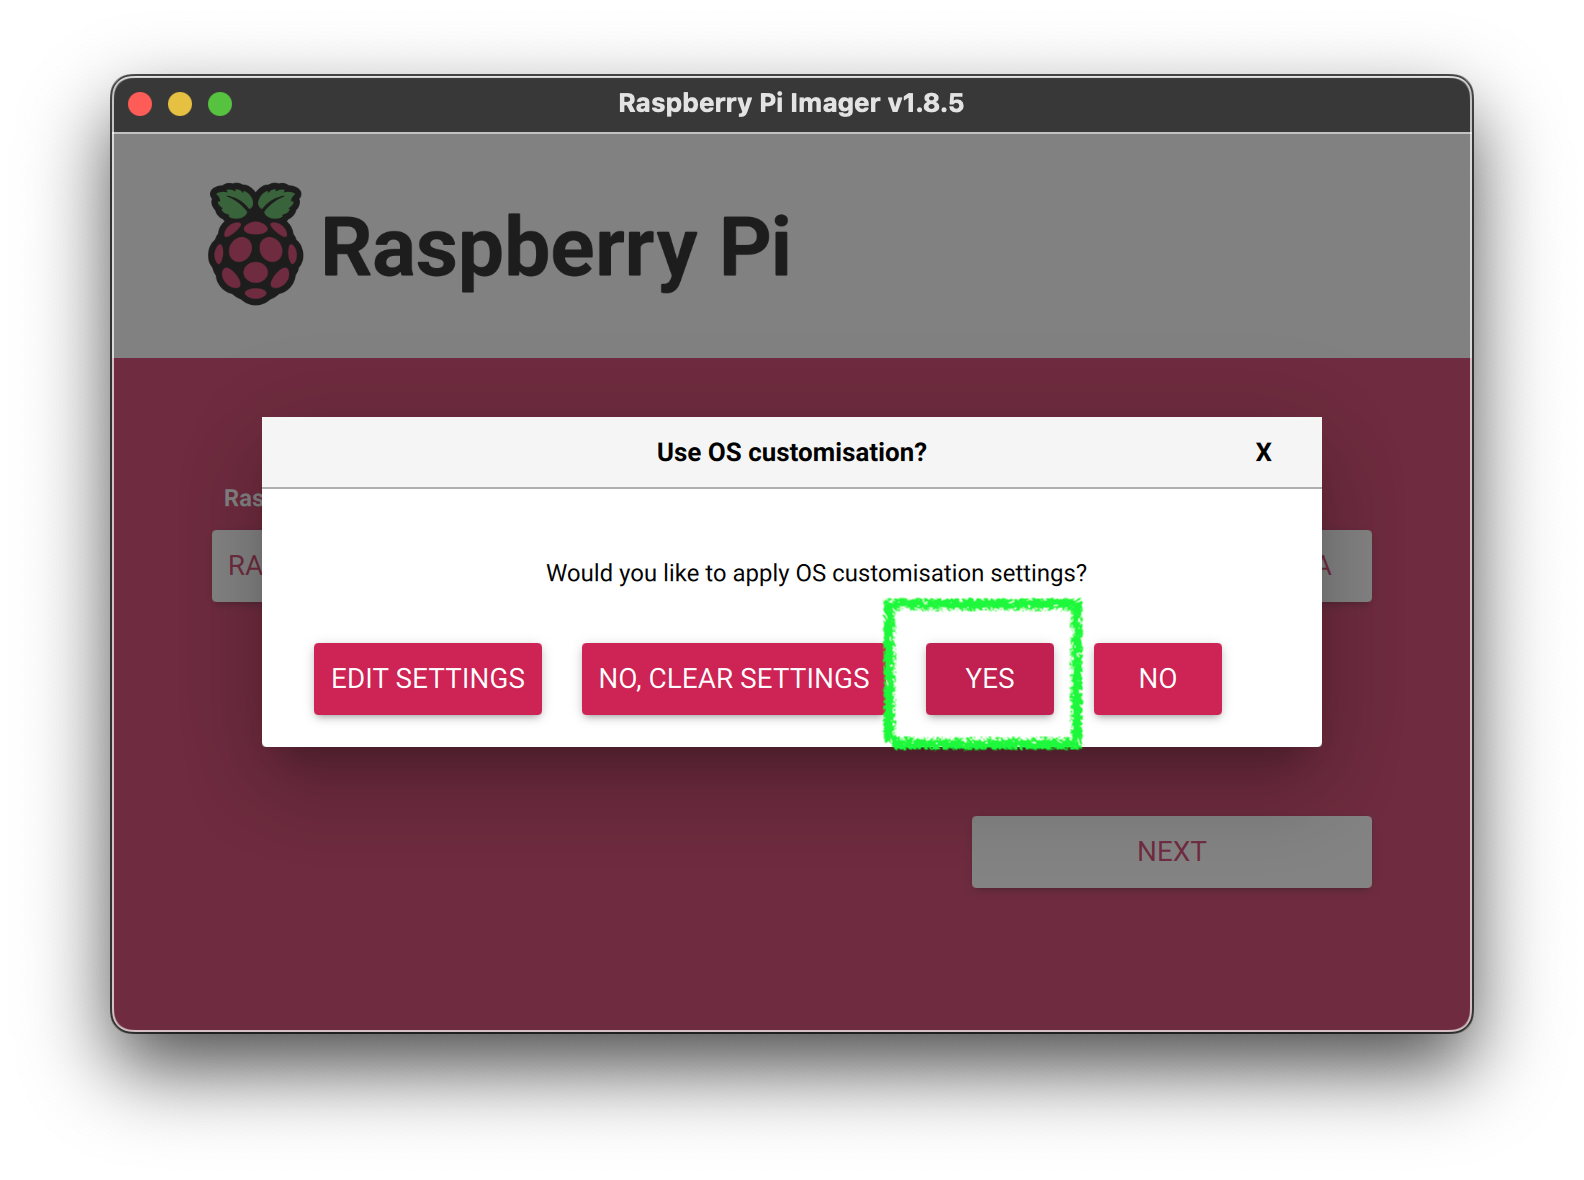
5. Apply the settings changes
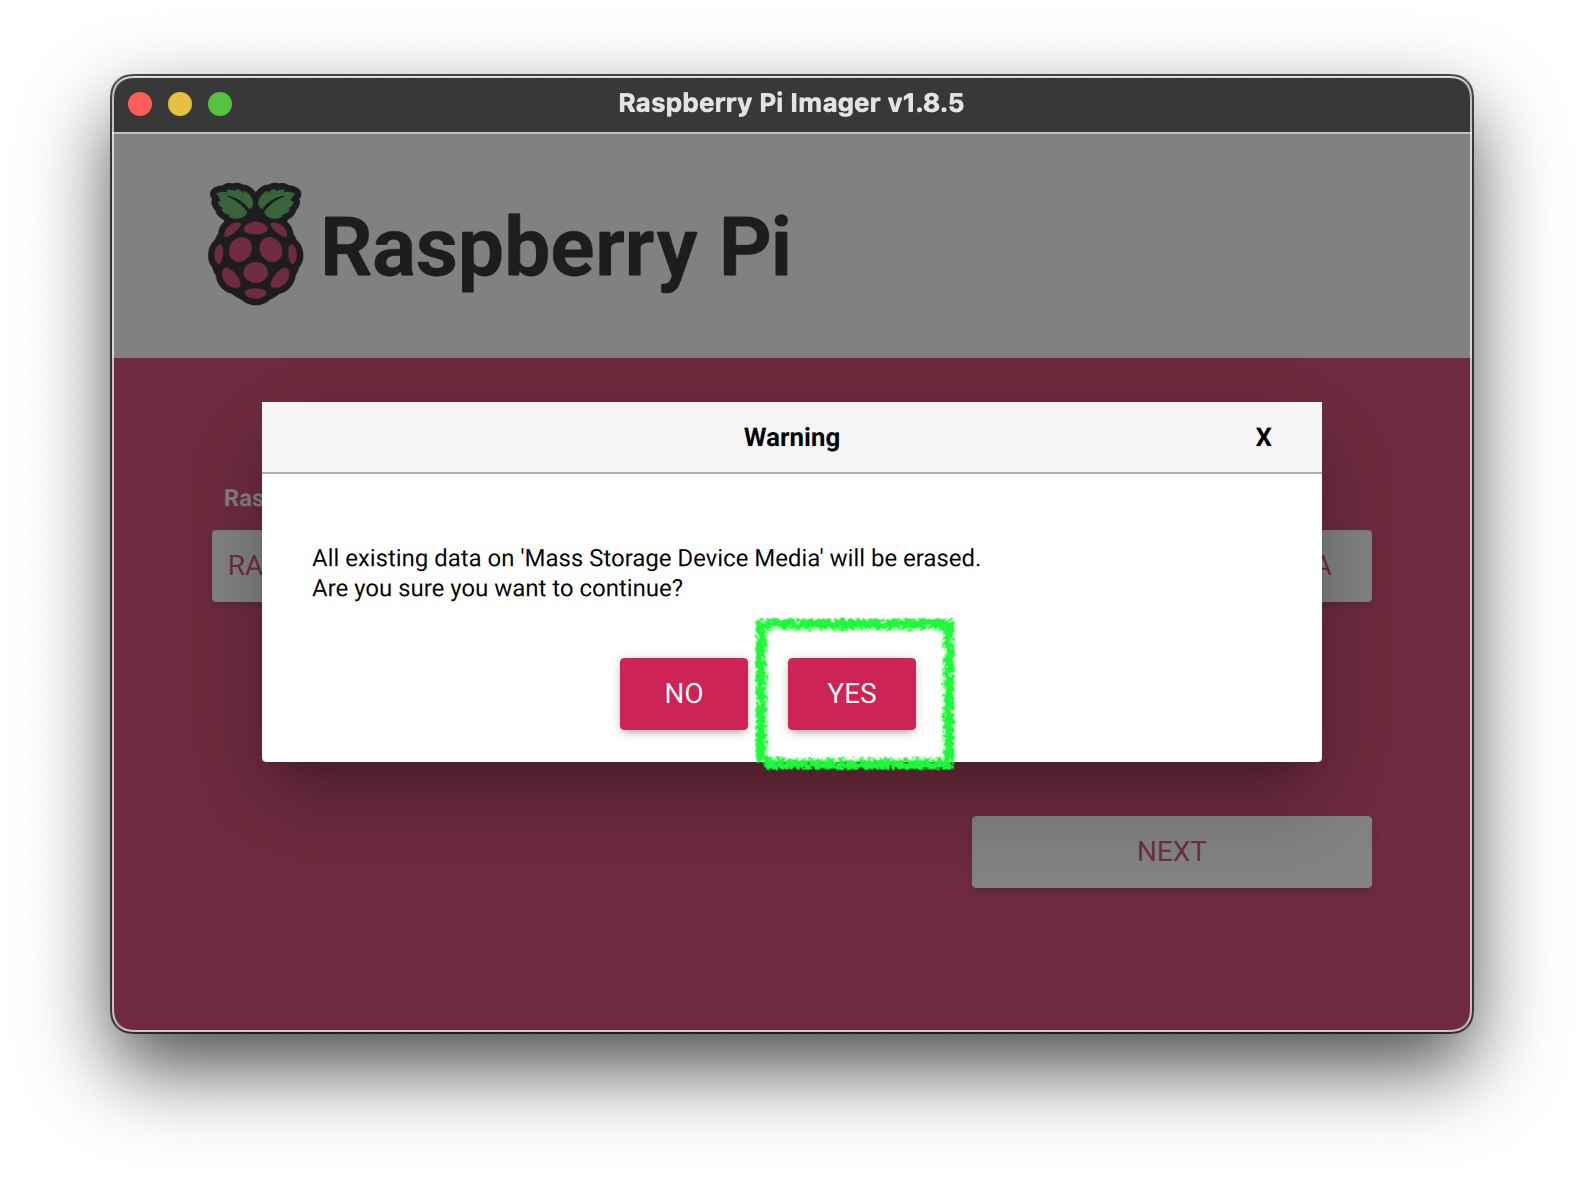
5. Confirm the updates
5. Wait...
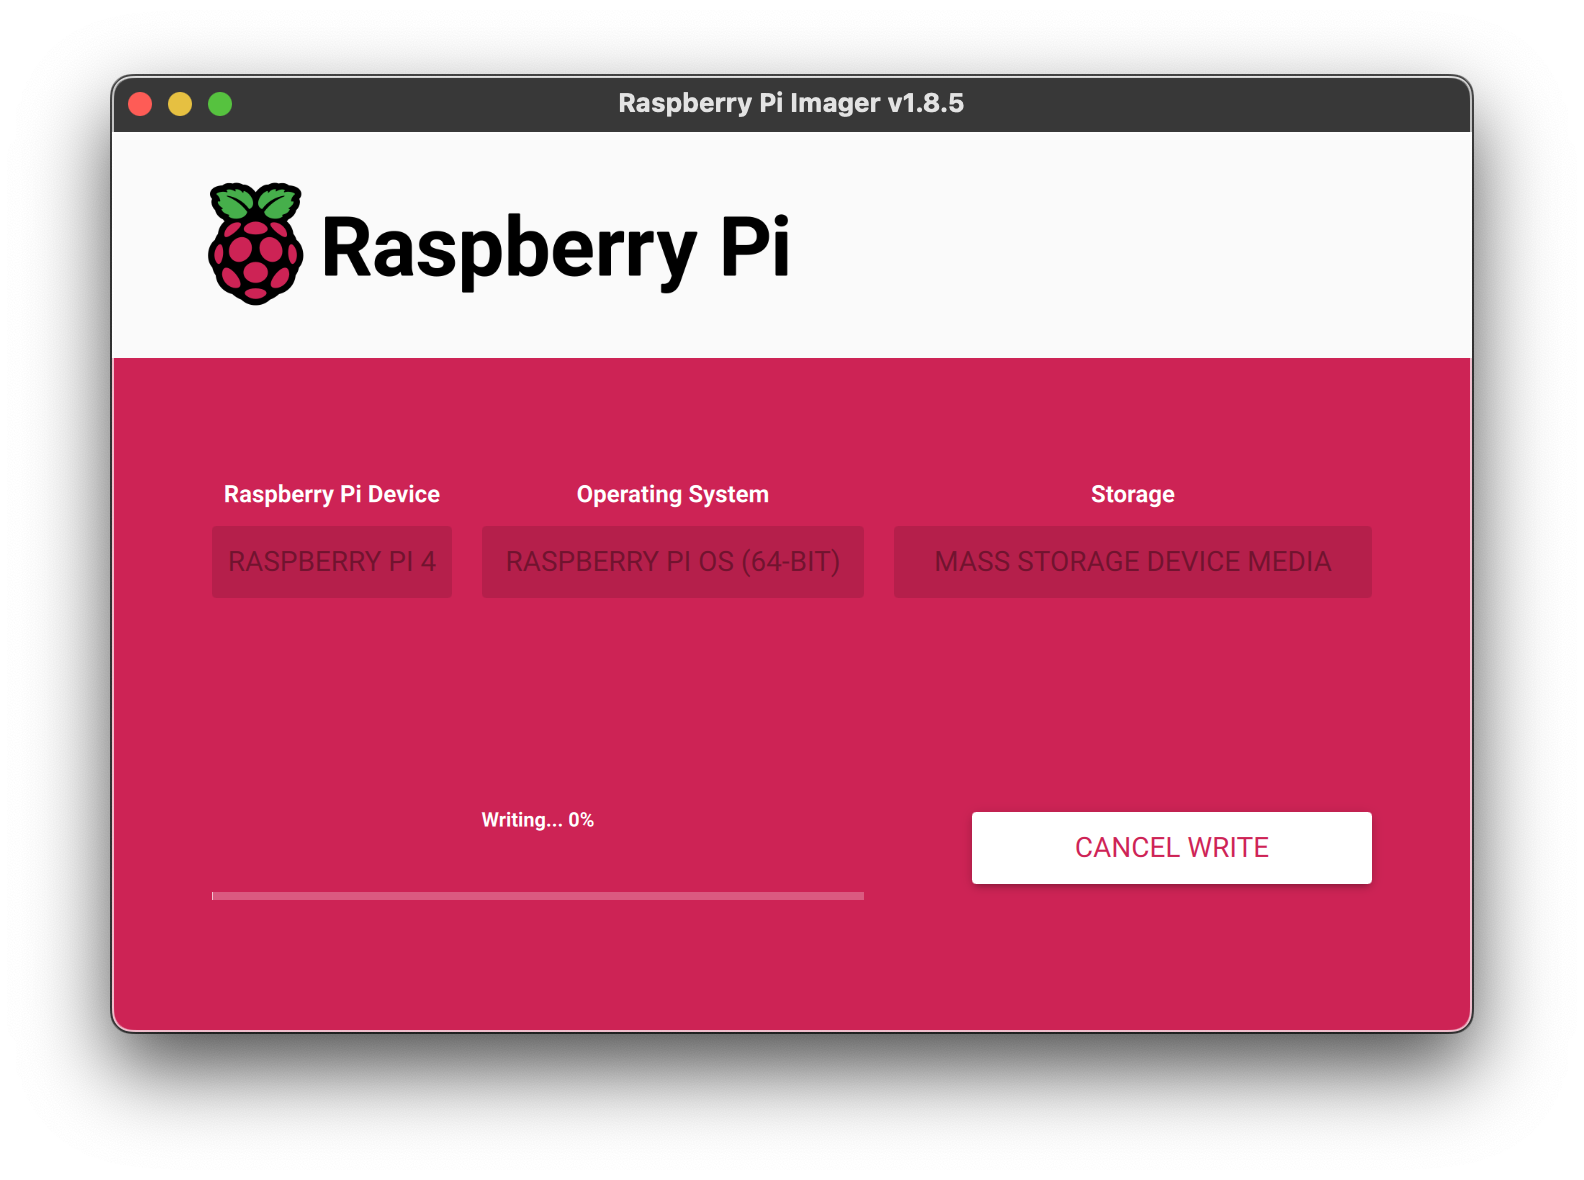
At the end of this process, you can install the SD card into the RPi5 and power it up. You should be able to find it on your network and SSH into it.
First Access
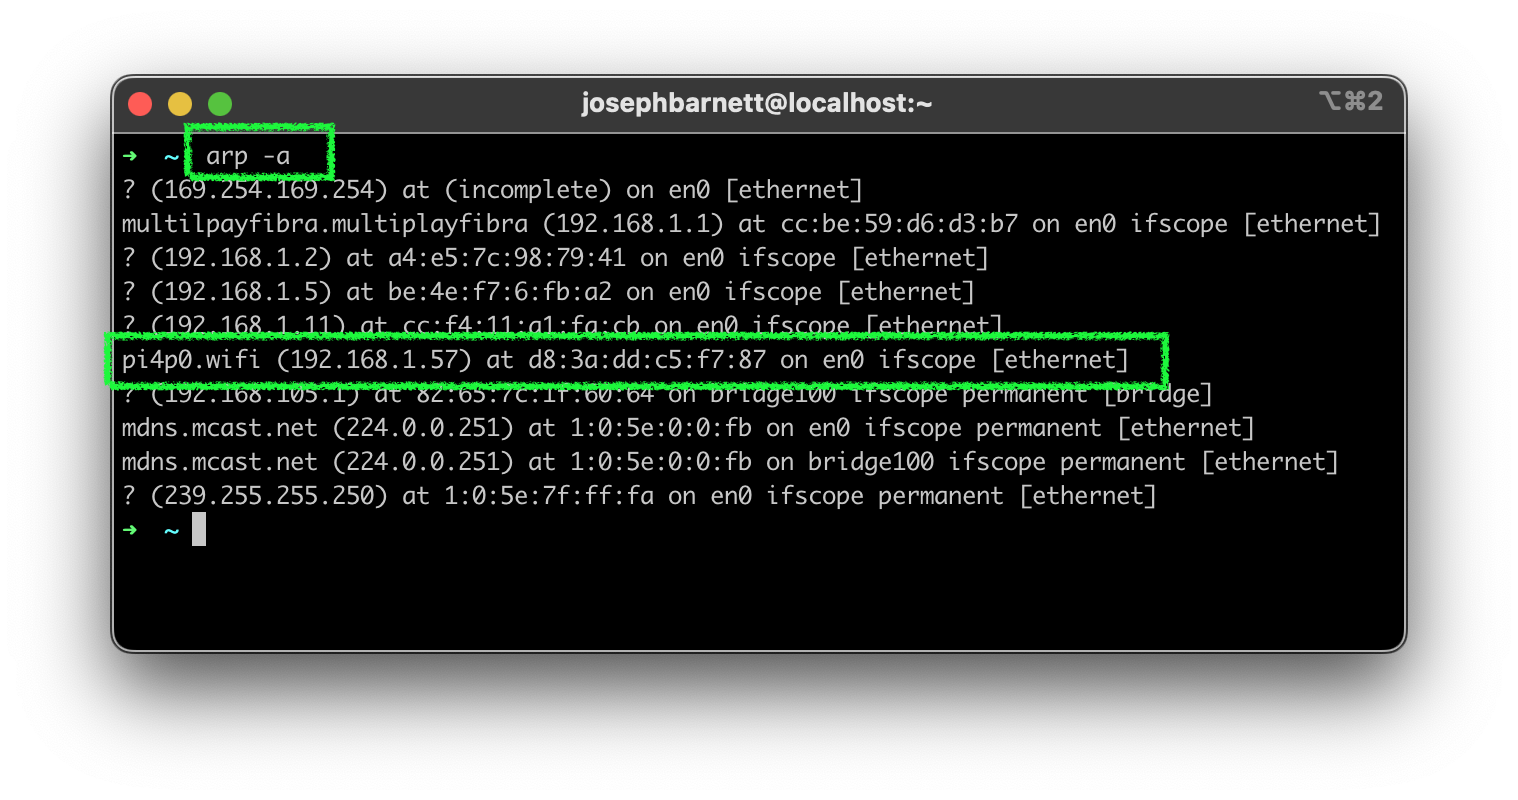
1. Discover the IP address of your machine
After the RPi5 boots up, you should be able to find it on your network. You can use the `arp` command to find it.arp -a
2. SSH to the machine
Once you have the IP address, you can SSH into the machine using the SSH certificate you provisioned, you can SSH into the machine.ssh -i ~/.ssh/id_<your key> <user>@<ip address>
Replace the
<your key>with the name of your SSH key,<user>with the user you configured, and<ip address>with the IP address you discovered.

Summary
🎉🎉🎉 Congratulations! You’ve successfully set up your Raspberry Pi 5 for the first time. You can now start exploring the world of cloud native technologies on this powerful little computer. Enjoy your journey into the world of cloud computing and container orchestration!
Next Steps
Now that you have your Raspberry Pi 5 set up, you can start exploring various cloud native technologies such as Kubernetes, Containerd, ctr, nerdctl, and more. You can also start deploying and managing containers using Kubernetes. Enjoy your journey into the world of cloud computing and container orchestration!
Last modified April 9, 2024: new posts (5664c98)