Building a Landing Site
Discover why static sites are valuable to learn, whether you want to share your thoughts, bootstrap a startup, or build an open-source project.
This post explores the process of building a landing site using static site hosting on Github Pages and automating deployment with Github Actions. We’ll delve into the benefits of static sites and build one together for a personal blogs, or possibly a startup landing pages.
This site will approach build a set of sites and applications designed to bootstrap a startup on a budget, where “free” is the magic word.
When undertaking such a task, it’s crucial to build a landing site using a real, branded domain to foster engagement and adoption. The front door to such a site should be secure, fast, and open. Publish news, an engineering or market based blog, and including product documentation increase the likelihood of search engines indexing the site, thereby improving SEO and attracting and growing a community.
Let’s explore the characteristics of this static sites:
- Simplicity: Static sites are often simpler to build and maintain compared to dynamic sites, as there is no complex business logic, or server side rending. One can add more complex CSS styling, or animations, but generally pages are written in a familiar language such as markdown, making it easier to publish new content.
- Easier to Own and Maintain: because there are no server-side components, databases, or access controls to manage, the site is generally simpler to own and operate beyond building CI/CD publishing automation.
- Faster: because there is no server processing, or database queries involved. The web server serves the pre-built, minified HTML, CSS, and JavaScript files directly to the browser. Additionally, content delivery networks (CDNs) caching is possible and effective - making the site perform even better.
- Secure by default: because there is no backend to worry about. This means the security concerns lay in exploit vectors such as the occasional contact form - and in the supply chain; components you use to build the pages.
Thus, static sites are commonly used for blogs, portfolios, landing pages, documentation, and marketing websites where simplicity and speed are priorities.
What is SEO?
Search Engine Optimization (SEO) plays a critical role in driving adoption and expanding market reach for websites. This is particularly important for startups and businesses operating on a budget. By ensuring that your site ranks well in search engine results, you can attract organic traffic, increase visibility, and ultimately, reach a wider audience.
Because the entire site is static, search engine crawlers typically can consume can easily index and rank the content without encountering any barriers.
Static Site Generators
Static site generators (SSGs) streamline website development by transforming structured content into static HTML, CSS, and JavaScript files. Hugo is well known for its speed and flexibility. It converts Markdown or other formats into static pages - and is written in golang - making it my top choice.
There are other popular options - which deliver more flexible power - such as Gatsby, Next.js, and Nuxt.js. I hope to write a post soon to contract the differences of those. However today, we want to build a site. Let’s get started!
1. Register a Domain Name
Registering a “good” domain name is maybe the hardest part of the process. The name becomes your brand, and depending on what you are making, can become a house hold name.
In this post, I use Namecheap, however there are pros and cons of each registrar.
2. Create a hugo site
The Hugo project has a great Quick Start Guide to bootstrap your site, and help you find a theme.
For this post, I am going to take a shortcut since I know I want a landing site with multi-language support, blog and documentation support.
Docsy provides those exact features and has an amazing look and feel. The fastest way to boot strap the site, is to fork or clone the my example site repository.
My favorite way of doing this is:
Click the
"Use This Template"button in the repository and selectCreate a new repository.Fill out the repository name to be
USERNAME.github.iowhereUSERNAMEis your github username. Leave the other settings default - then clickCreate

3. Update the baseURL for your new site
In either a local clone, or from within the github itself, change the baseURL in the hugo.toml to have your new domain name. For my PoC I will be using blindcoder.com.
- click on the
hugo.tomlfile link - click the edit this file button on the upper left hand corner of the file window.
- Update the
baseURLsetting:
baseURL = "https://blindcoder.com/"
To your domain name. For example:
baseURL = "https://YOUR_DOMAIN/"
Note: update
YOUR_DOMAINin the statement above leave the trailing slash.
- Click the
Commit Changesbutton and commit the changes.
4. Setting up Github Pages
Click the
Settingstab at the top of the repository page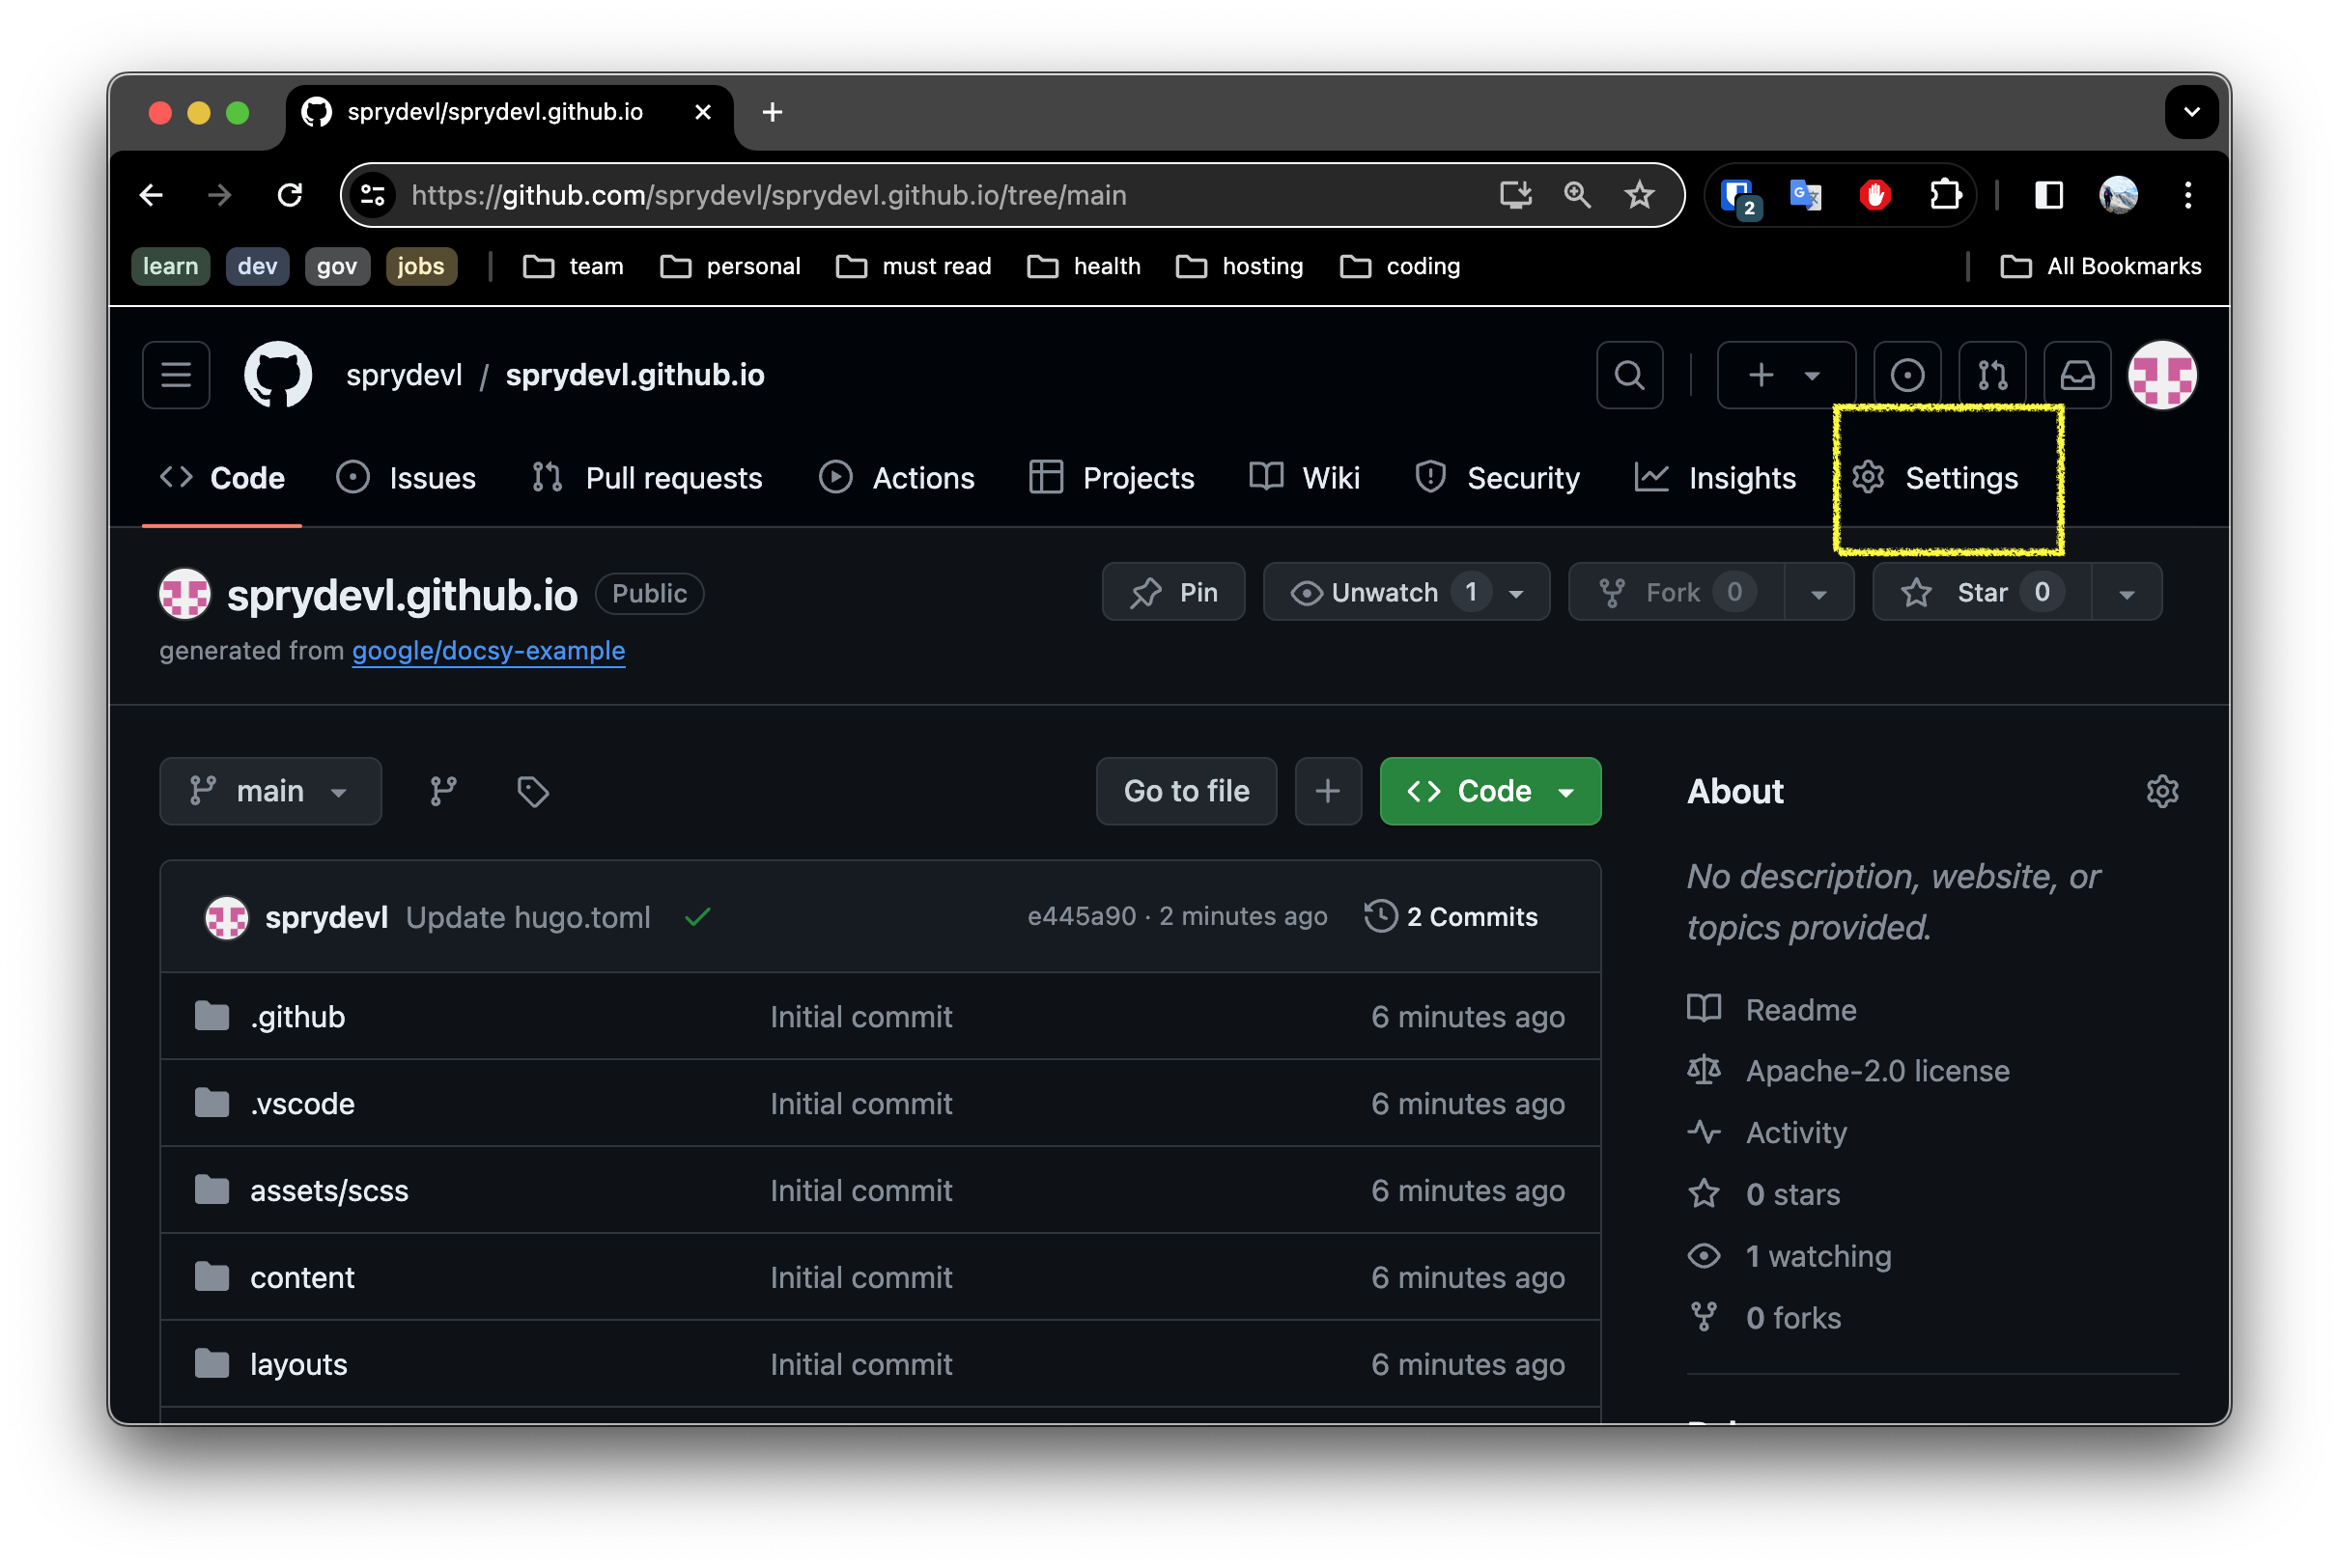
Click the
Pagessettings menu option on the left panel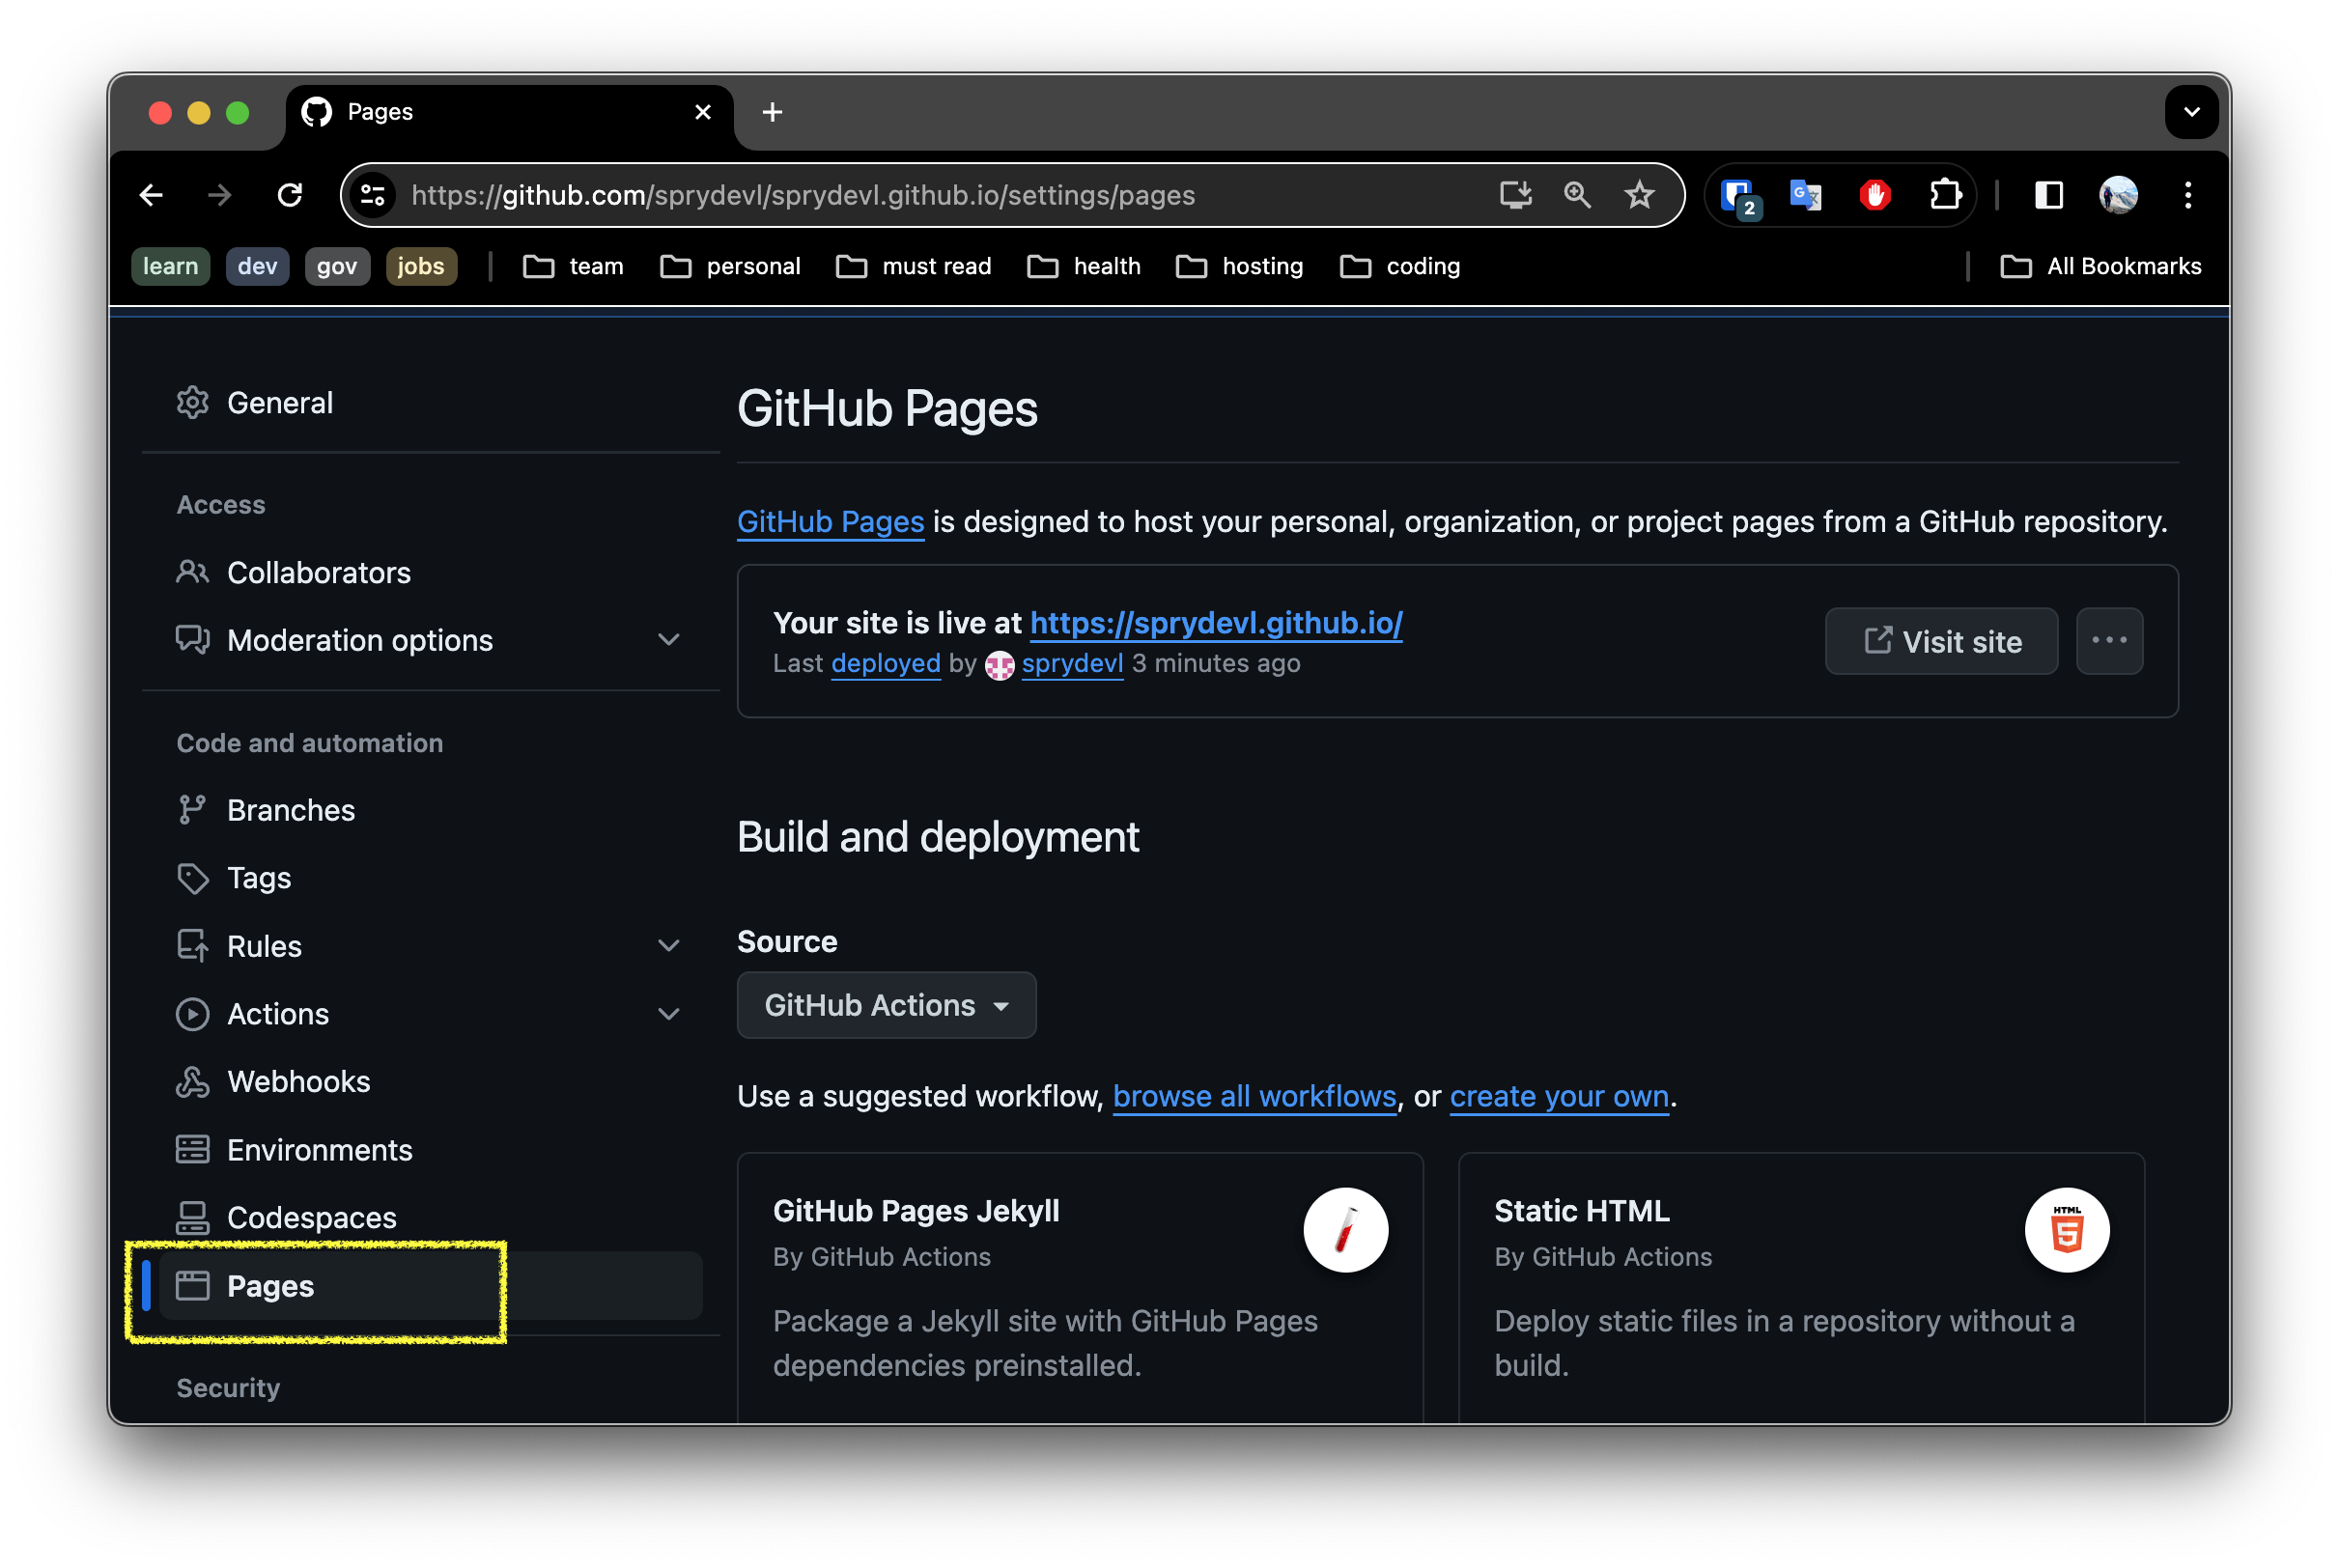
In the
Pagessettings, ensureSourceis set to In thePagessection of the repository settings, ensure theSourceis set to Github Actions.
5. Github Actions: Build and Deployment Automation
Github Actions is a powerful tool that allows you to automate your software development workflows. We will use it to build and deploy our site to Github Pages.
If you’ve forked my repository, you will already have a actions configuration in .github/workflows/hugo.yaml. Note there are a number of prebuilt action templates depending on the technology you are using. Check them out!
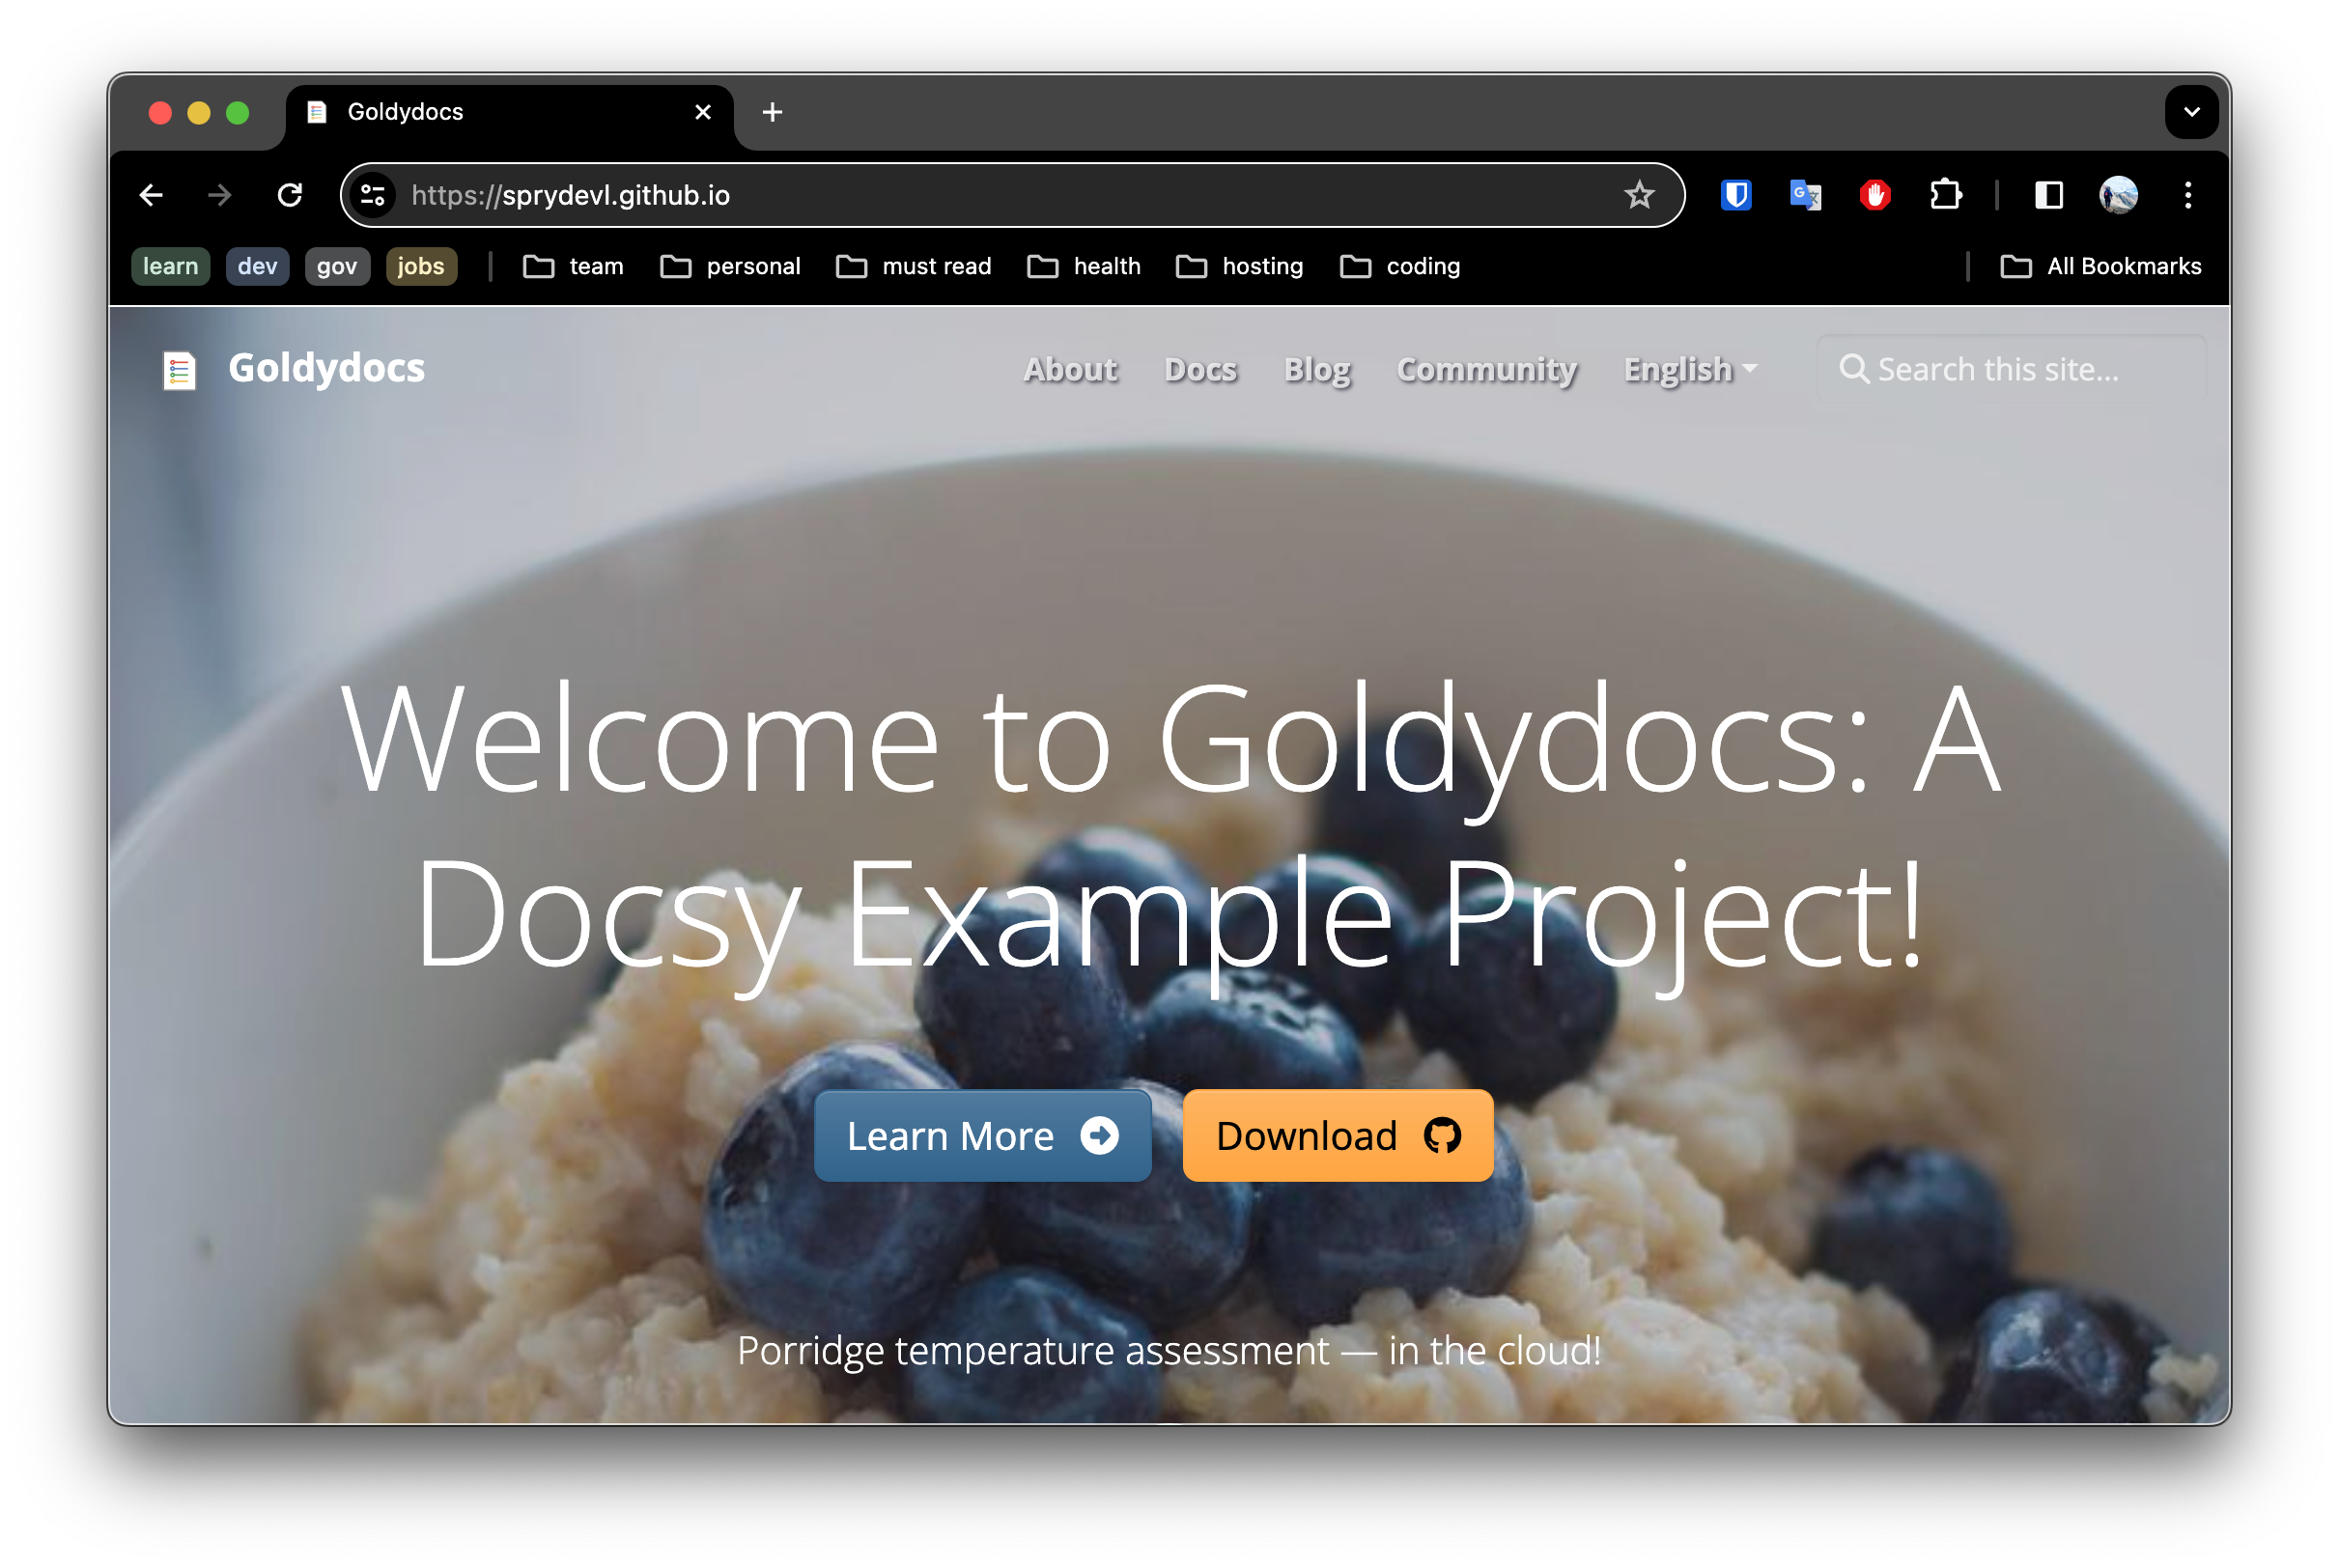
6. Validate the site is working.
Shortly after updating the Pages settings, the site was already published. You should verify it is all working but visiting the site https://USERNAME.github.io where USERNAME is your Github username or organization name. You should expect something similar as below:
6. Customizing your Domain
Now that we have validated everything is working as expected. Let’s setup our custom domain to our branded domain.
This work will happen in two parts, one phase on Namecheap and the other on Github.
6.1 Update the DNS settings on your Registrar
As mentioned earlier, I use Namecheap, so I will provide those instructions. However the DNS settings could be applied to the DNS management of your domain on any of the registrar. Some steps may differ slightly.
Sign in to your Namecheap account.
Select Domain List from the left sidebar and click on the Manage button next to your domain name:

- Navigate to the Advanced DNS tab and click on the Add New Record button:

- Add the following records to your domain:
| Type | Host | Value | TTL | Notes |
|---|---|---|---|---|
| A | @ | 185.199.108.153 | Automatic | Github IP |
| A | @ | 185.199.109.153 | Automatic | Github IP |
| A | @ | 185.199.110.153 | Automatic | Github IP |
| A | @ | 185.199.111.153 | Automatic | Github IP |
| CNAME | www | username.github.io | Automatic | Replace username with your actual GitHub account username |
Note 1: delete the other records that are there by default. We only need the records above for now. 🗑️
Note 2: you may have to wait for DNS to update. It can take up to 30 minutes - so now is a great time to brew a cup of tea. ☕
6.2 Defining the Custom Domain on Github
Now that the DNS is setup, we need to tell Github to use the custom domain.
- Navigate to the repository settings and scroll down to the
Github Pagessection. - Add your custom domain to the
Custom domaininput. This should be in the form ofyourdomain.comorwww.yourdomain.comdepending on your preference. - Click
Saveto save the changes.
At this point Github will validate the domain and if everything is setup correctly, your site will be available at your custom domain.
There is a small context text area that will show you the status of the domain validation. If there are any issues, may want to look back at your Namecheap DNS configuration.
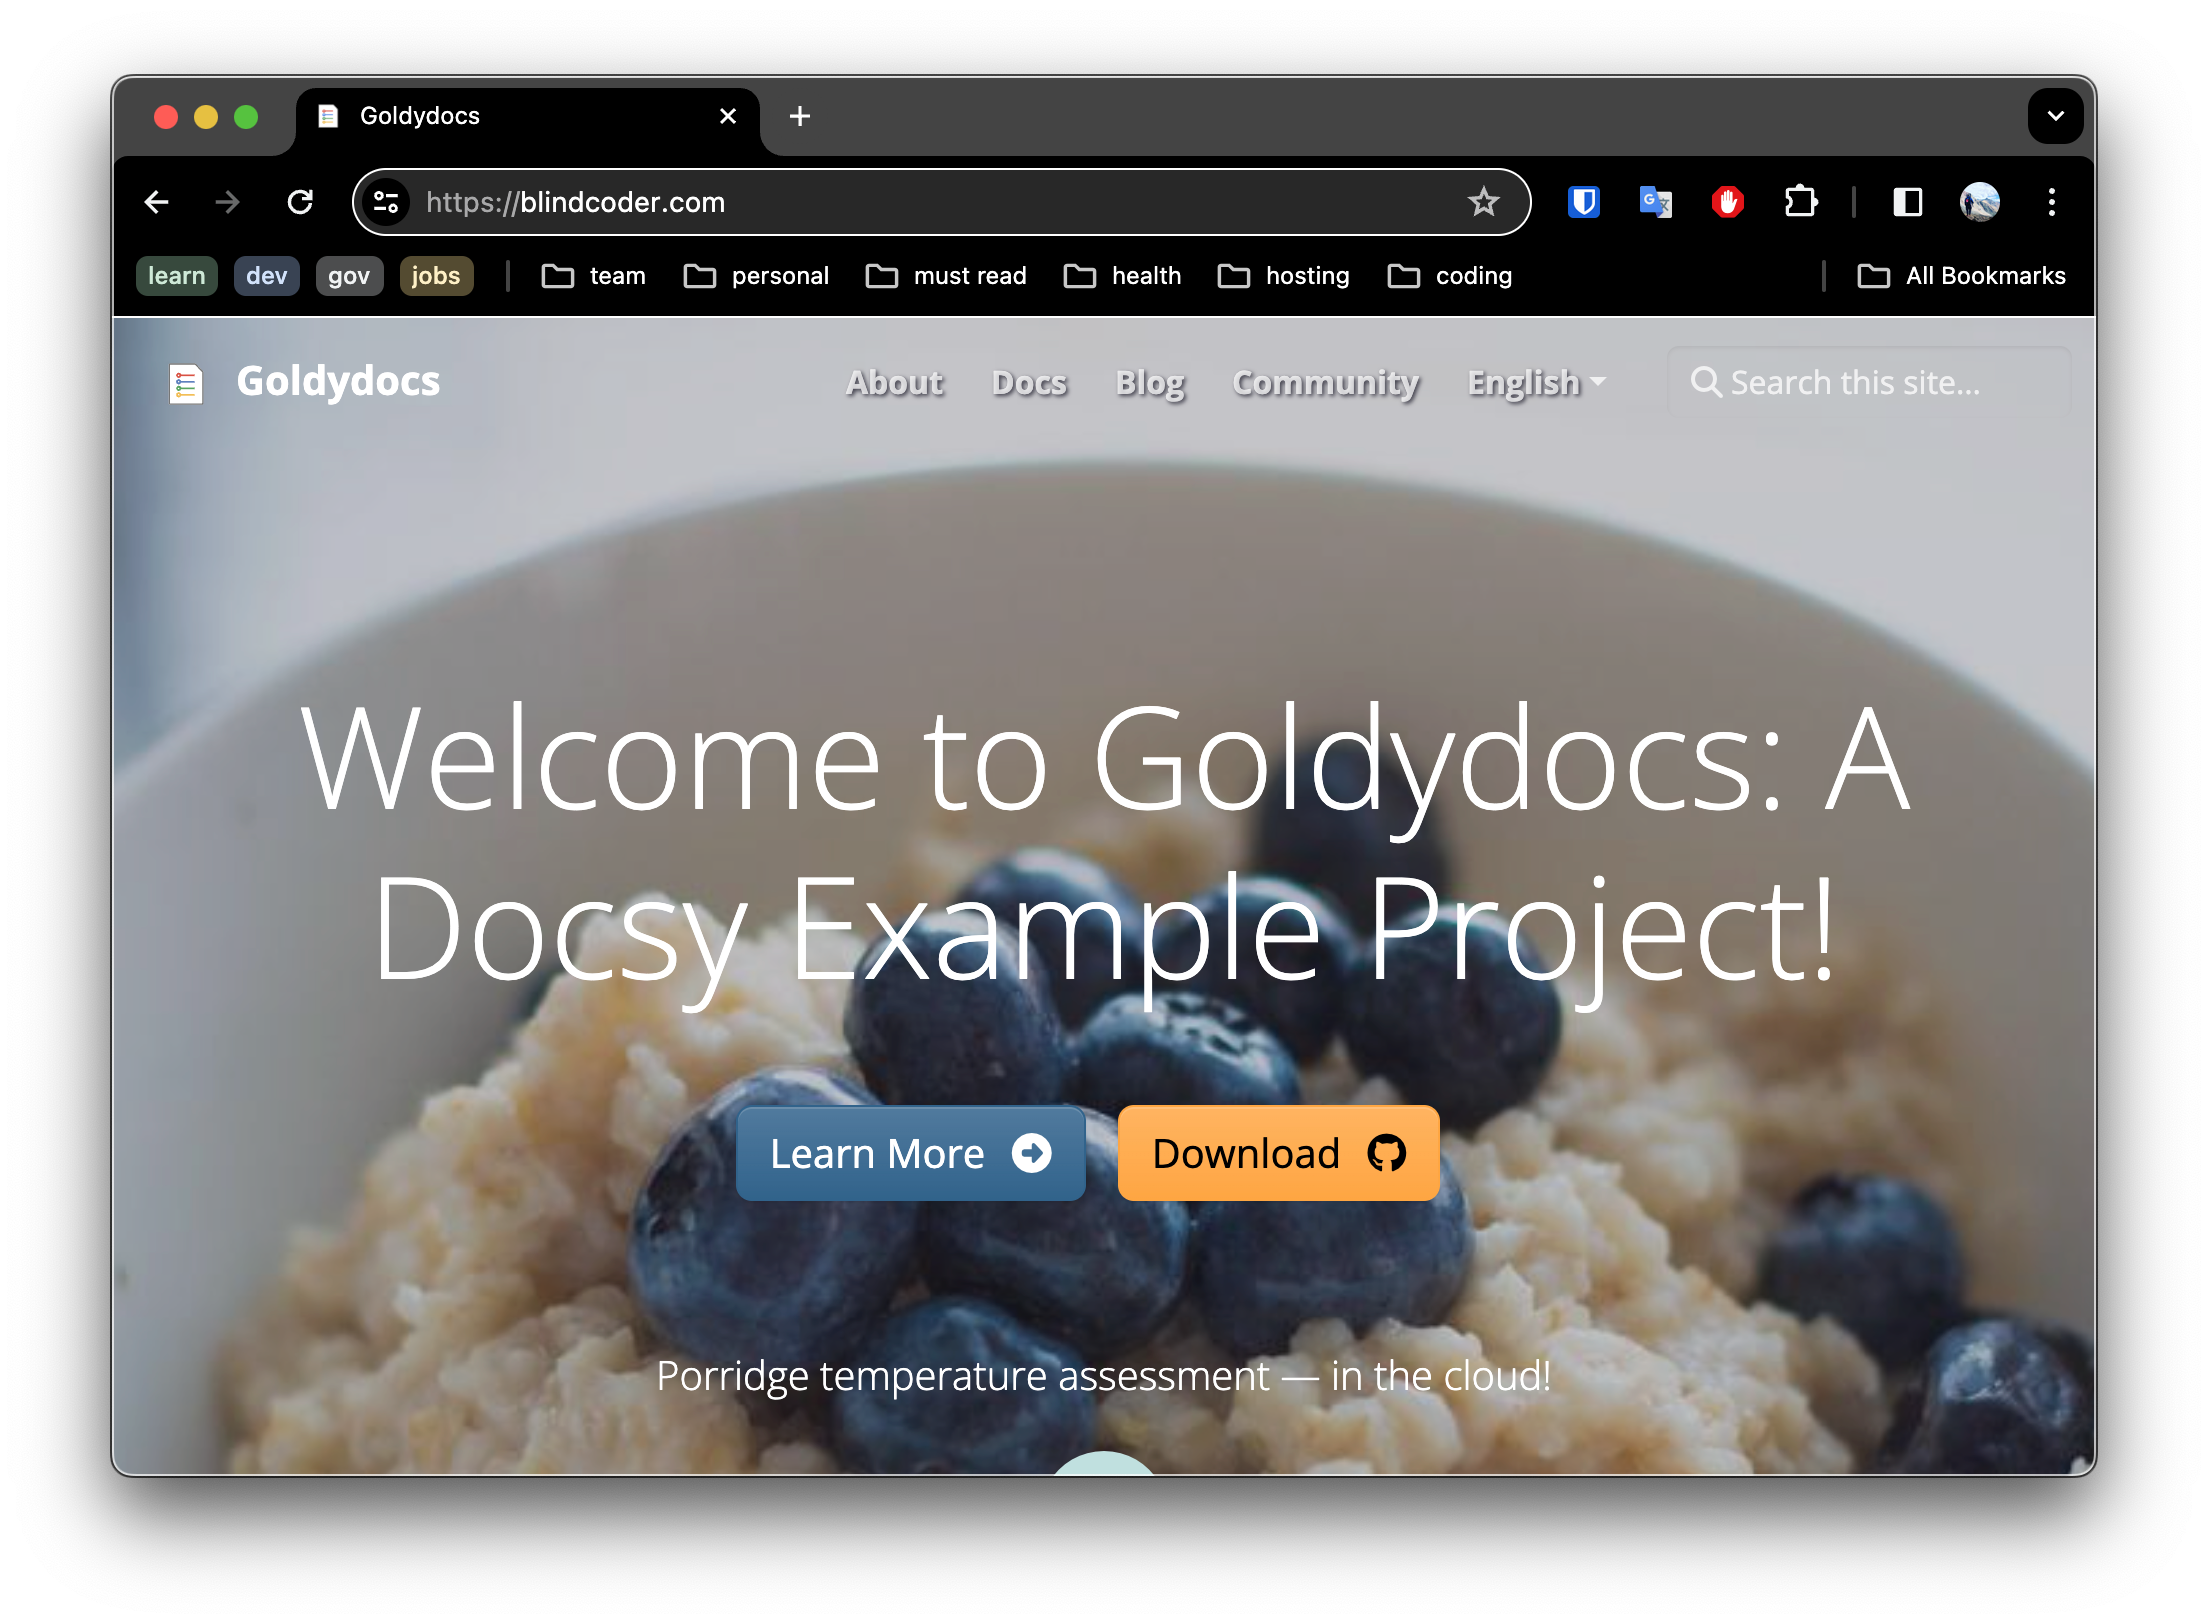
7. Verify your new Domain
Summary
That’s it! It should now be live and visible at your custom domain. 🎉
In this post, we have setup a site for our startup. We have used free services to keep costs low and automated the deployment process to ensure we can focus on the product.
In upcoming posts, I hope to share a similar approach using Nuxt.js and Vue creating a SPA (similar to a static site) which can call backend services - and still be hosted on github pages for free! At least the SPA side anyway.
Follow my blog for more exciting posts. Be excellent, and happy coding! 🚀
Last modified April 9, 2024: new posts (5664c98)